1066 COUNTRY WALK
Stage 4: Battle to Pevensey
Sunday, July 3, 2011

(1) Battle Abbey

(2) Abbey precinct wall

(3) Junction with the Bexhill Link

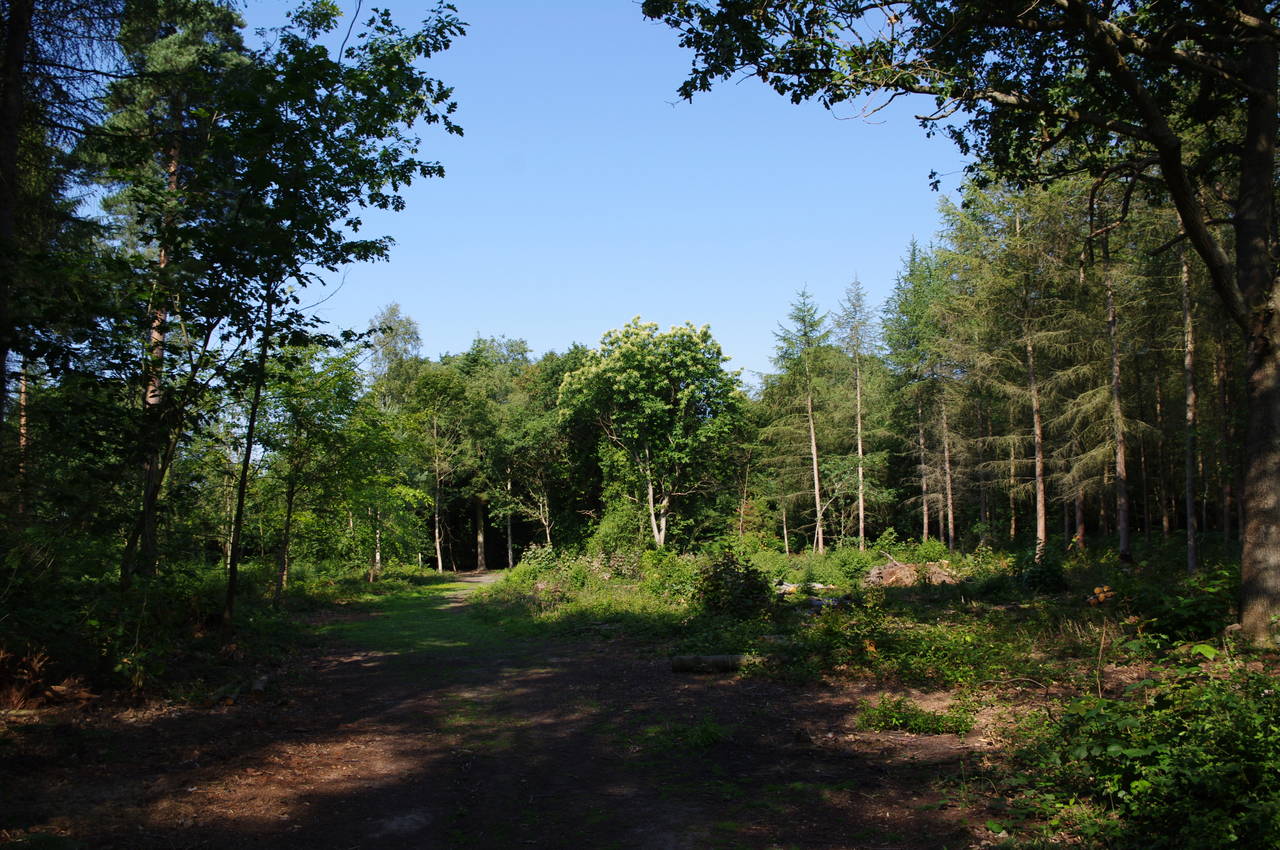
(4) Warren Wood
I began the second stage of the main 1066 Country Walk by the gatehouse of Battle Abbey (picture 1) on a bright and warm Sunday morning. From the gatehouse, the 1066 Country Walk heads west, following the precinct wall of the abbey down Park Lane and then along a broad track (picture 2) where I was passed by several groups of Sunday morning joggers.
After about 700 metres the path reaches the signpost where the Bexhill Link heads off to the left (picture 3), while the main route continues ahead by the edge of Saxon Wood before heading into the small Warren Wood (picture 4).

(5) Farthings Farm
(6) Hoathybank Wood

(7) White Hart Freehouse, Catsfield

(8) Horse Pond
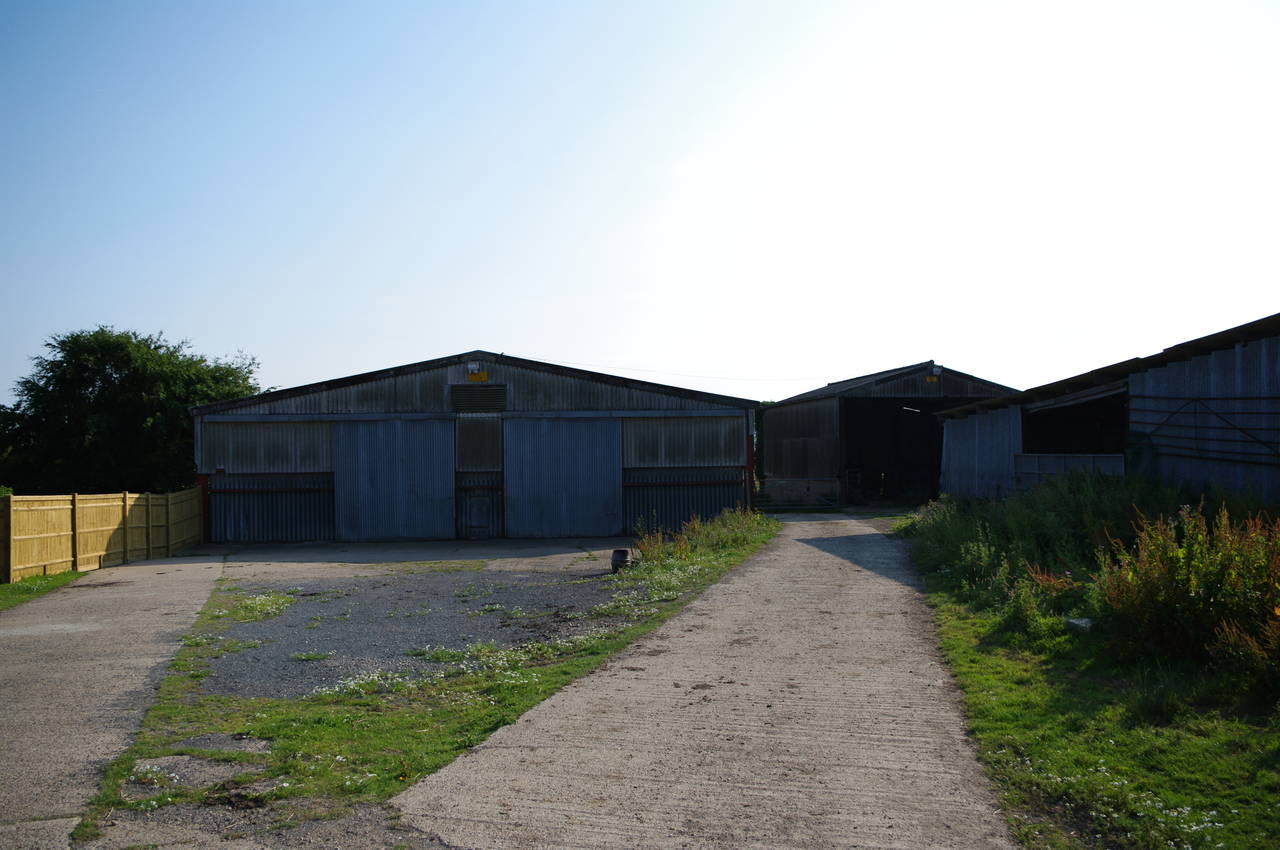
The narrow path through the wood soon becomes a more substantial hedge-lined vehicle track, which runs between fields and soon passes by Farthings Farm on the right (picture 5). Reaching the edge of Hoathybank Wood, the route leaves the vehicle track over a stile and heads off through the wood, in the middle of which was a clearing created by recent logging (picture 6).
The path soon emerges from the woods and crosses between several small plantations of fir trees at Starcroft Farm and then across a field to reach a farm driveway that leads out to the B2204 road. A short distance along the road to the left a waymarker post points across to road to a stile, from which the route crosses diagonally left over a field of long grass to reach another road called The Green. The walk follows this road into the village of Catsfield, turning right onto a lane between the White Hart pub (picture 7) and the village store. The lane heads up past farm buildings before passing by the large Horse Pond (picture 8) and into Eight Acre Wood.
(9) Eight Acre Wood
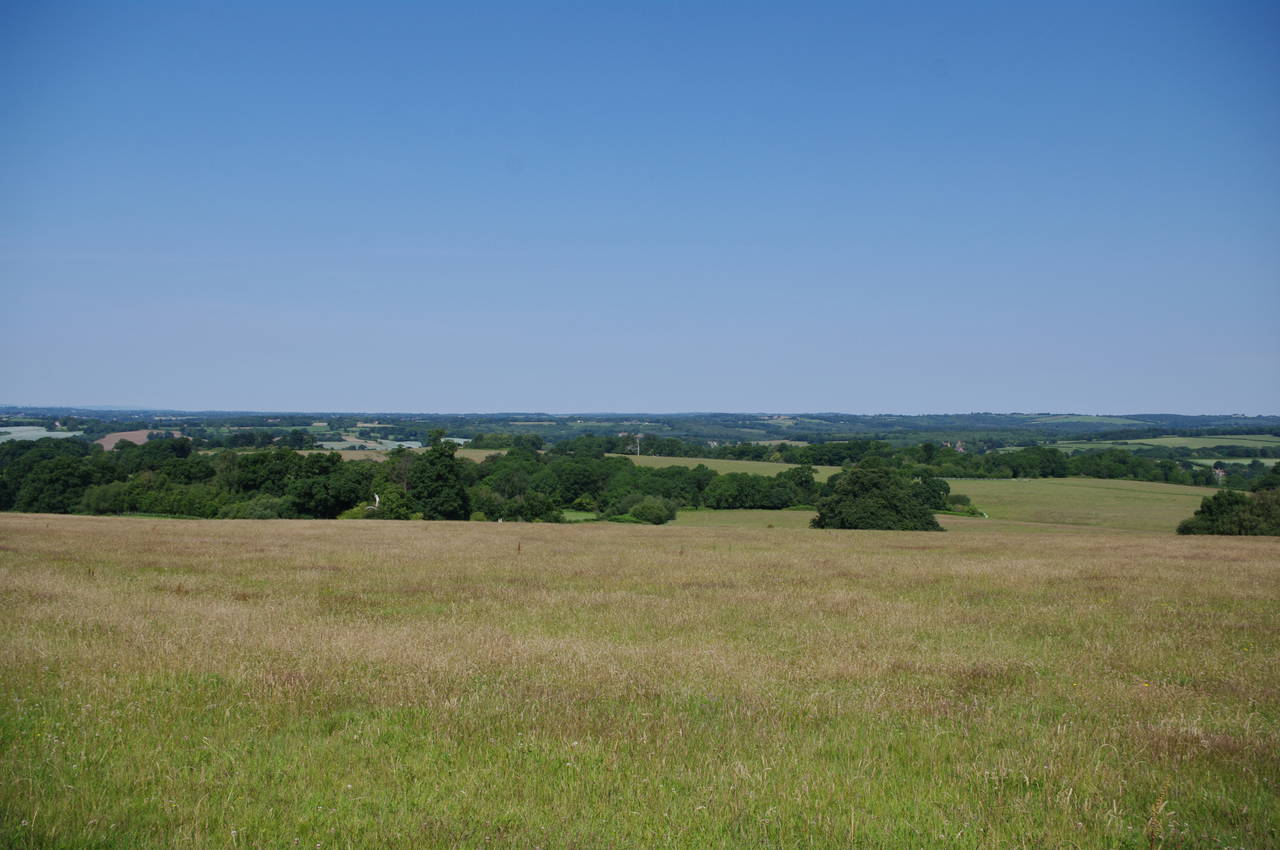
(10) View from Steven's Crouch

(11) Tent Hill

(12) Tent Hill
The path stays on the lane, which winds its way through the shady Eight Acre Wood (picture 9), across a meadow, and then into more woods. Eventually, the lane emerges between two small white lodges, which date from 1880, and onto the main A271 road. About twenty metres to the left and across the road, the path climbs up to a stile which leads into a large open meadow at Steven's Crouch, where there were good views north and west (picture 10).
A few metres along the right field edge, a fingerpost points about 60 degrees left across the face of the hill, but this is quite misleading. The correct route is only about 30 degrees left, or about 10 degrees north of west, heading downhill towards the left edge of a clump of trees, to the right of a second clump of trees and then straight ahead to a waymarker post in the corner of the field, where steps lead down and through the band of trees.
In the next field the route continues to head just marginally north of west to reach a stile in a wire fence at the top of Tent Hill after about six hundred metres (picture 11). Finding my way across the huge field was made a little easier due to there being several stakes bearing "1066 Relay" signs, though these were pointing in the opposite direction along the route. The 1066 Relay was held eight weeks earlier on May 8th -- teams of five runners completed the 49.5km from Pevensey to Rye.
Once over the stile, the ground drops away quite steeply down the side of Tent Hill, which is so named as it is thought to be the place where William the Conqueror's army camped before heading off to Battle in 1066.
Finding the correct route down Tent Hill was not easy, as there is no well-worn path and you can't see the stile at the bottom of the field until you're most of the way there. The correct route heads roughly north-west, passing just to the right of a clump of trees after about 250 metres, then bearing right a little until the stile comes into view on the edge of a band of trees.
Once over the stile the path heads down some steps and over a footbridge, then across a narrow field to pass through another band of trees. The path then heads up the middle of the next field, where a wide path had been mown into the grass to show the way (picture 12).

(13) View back to Tent Hill

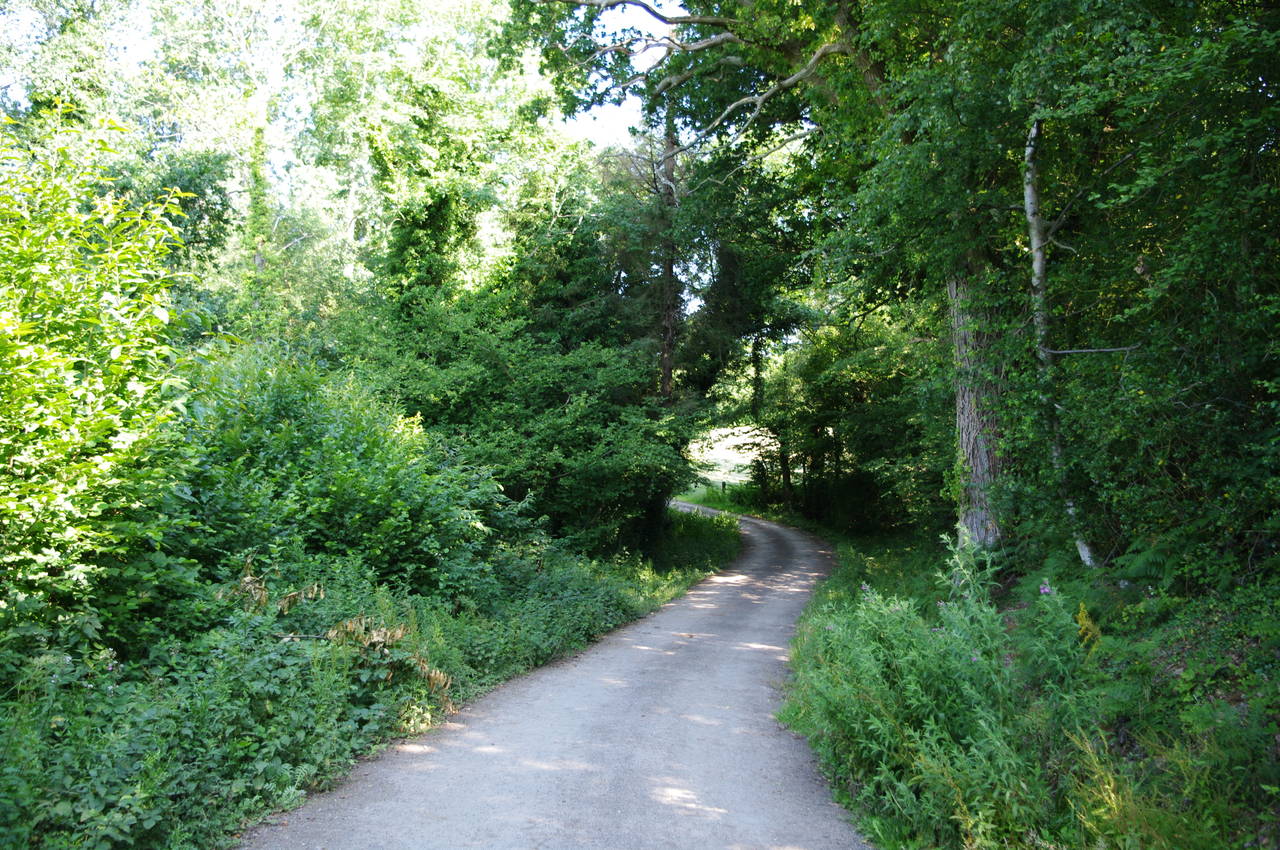
(14) Penhurst Lane
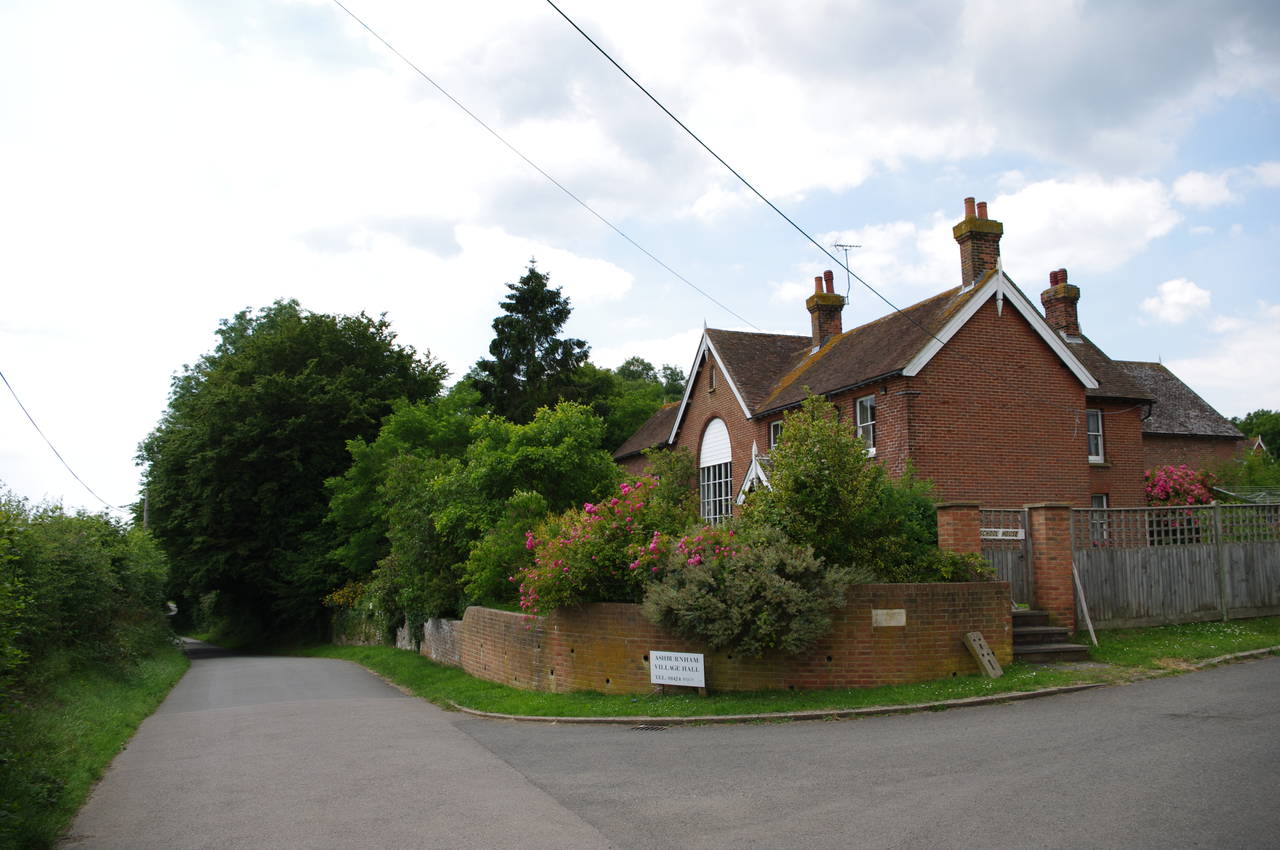
(15) Ashburnham Village Hall
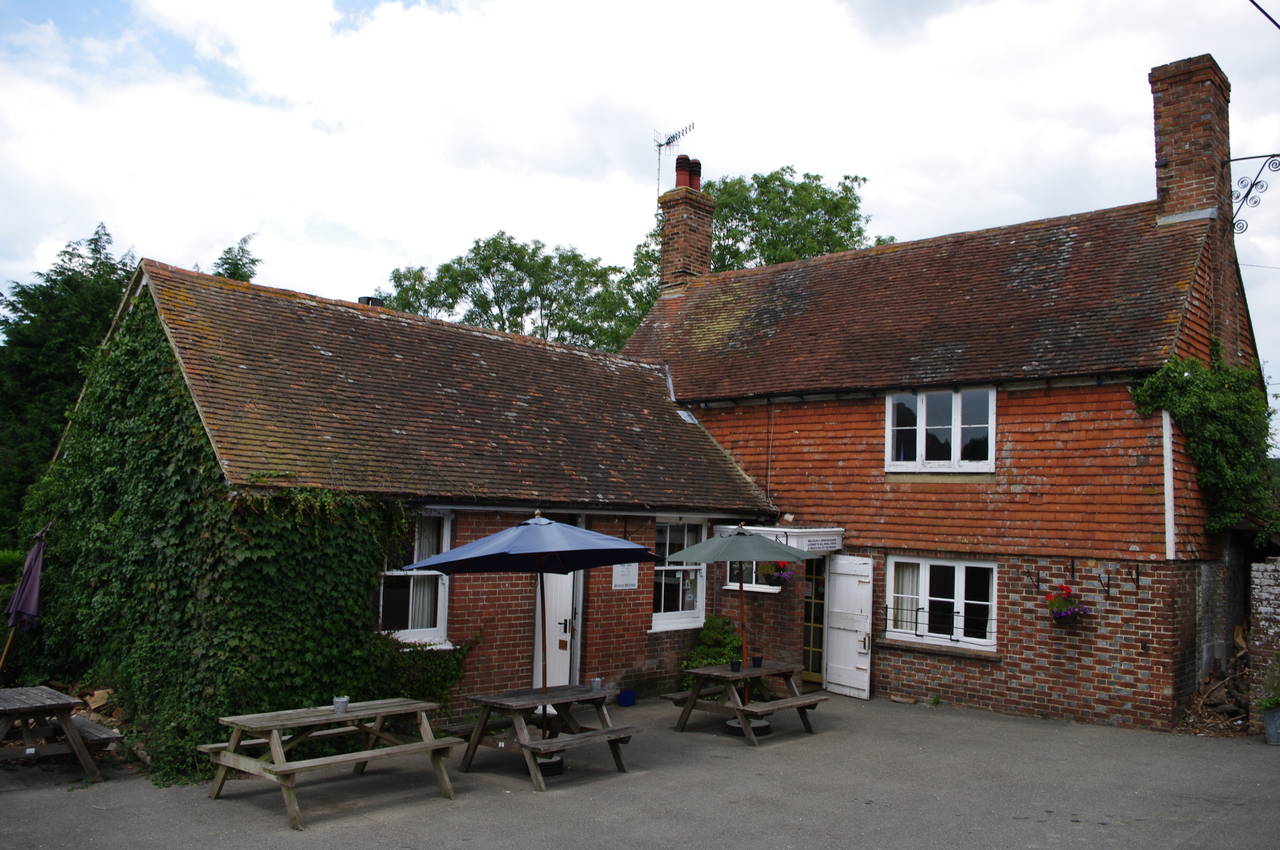
(16) The Ash Tree Inn, Brownbread Street
The neatly mown path climbed up two more fields, and looking back there were good views across the valley to Tent Hill (picture 13). At the top of the last field, a gate takes the route onto a narrow enclosed path between wire fences, which eventually leads out to the quiet Penhurst Lane (picture 14). The walk follows the lane for about a kilometre to a junction with Dubbs Lane, turning left briefly before a fingerpost on the right points along the right edge of a field for about 250 metres to reach another quite road.
Heading left along the road, I soon passed a building signed as the Ashburnham Village Hall (picture 15). The village itself seems to consists of just three houses at the end of the short lane beside the hall.
Continuing down the road for another six hundred metres, I reached Brownbread Street, actually a small village, not a street. After a good morning's walking, the village pub, the Ash Tree Inn (picture 16), looked quite inviting and I stopped there for a long lunch in the pleasant garden behind the pub.

(17) Road near Henley's Bridge

(18) Gardner's Farm

(19) Path towards Boreham Street
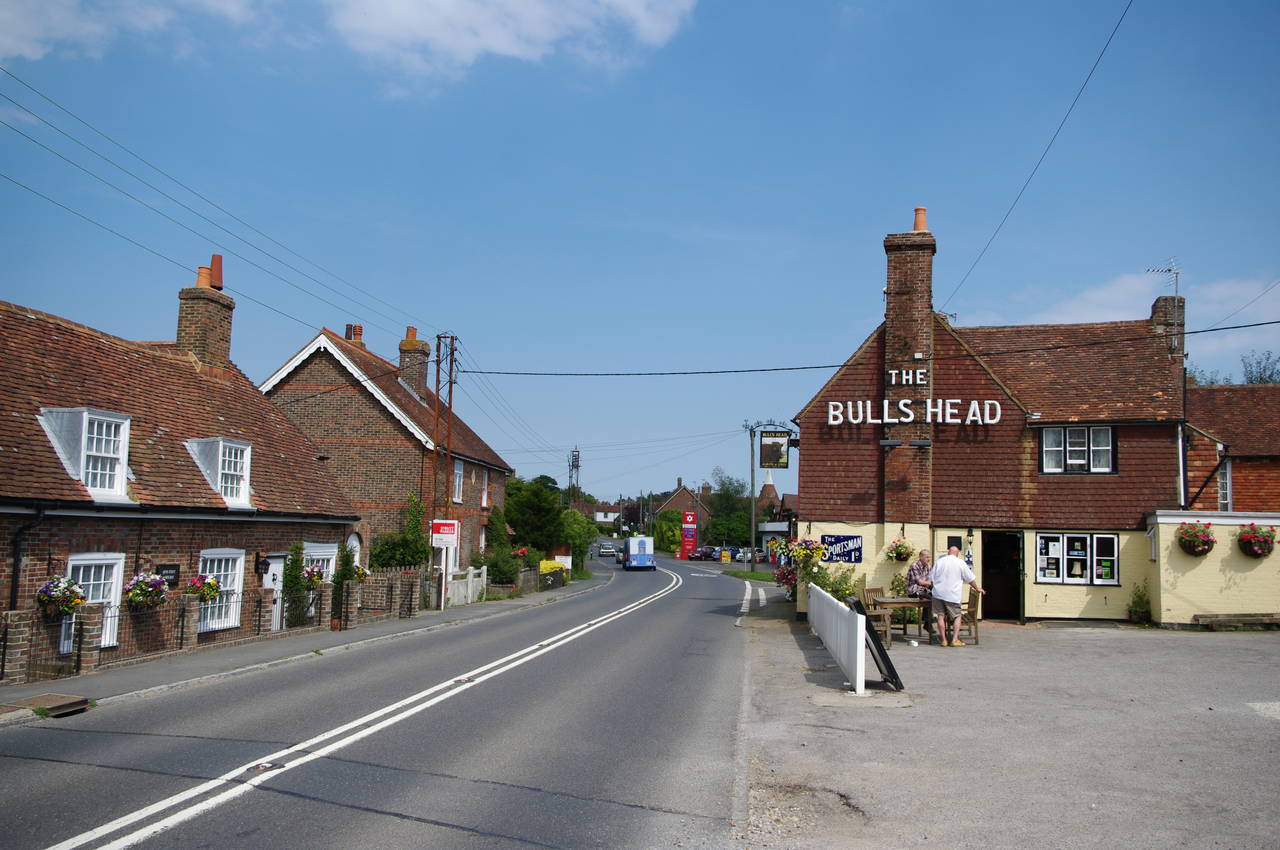
(20) Boreham Street
From Brownbread Street, the route continues along the road south, bearing right at a three-way junction to follow a road called Henleys Hill for well over a kilometre over Bray's Hill, down to Henley's Bridge at the bottom of the next valley and then up the next hill (picture 17). Reaching another three-way junction on the crest of the hill, the path takes the left branch in a southerly direction along a lane signposted to Gardners Farm.
The lane takes a little more than a kilometre to reach Gardner's Farm (picture 18), passing several other farms along the way. The signpost at the entrance of the farm doesn't make the correct route through the farm very clear, seeming to point straight ahead down the edge of a field leading to a dead-end after a few hundred metres. The correct route stays on the lane, which kinks slightly left at first to run just to the right of the farm buildings.
Leaving the farm buildings behind, the route continues south on the lane for a few hundred metres more before the lane turns left and the path continues straight ahead through some bushes and then downhill towards a small patch of woods at the bottom of a shallow valley (picture 19).
In the trees, the path crosses a wooden footbridge where several small waterways meet, then resumes heading south along the right edge of the next field. Just after crossing a stile, the path turns right through a gate in a hedge that separates two fields. The path is then supposed to turn left and head up the left edge of this field, but in the absence of any waymarks I continued ahead for some distance before it was obvious I wasn't following the course drawn on my map. Backtracking to the gate, I found the fallen remains of the missing signpost hidden in the hedge.
Back on the official route, I headed up the left field edge to the top of the field, where an overgrown path through the field boundary leads into the next field and a short climb up to meet the A271 road. From here the route heads to the right to follow the main road into the village of Boreham Street (picture 20).
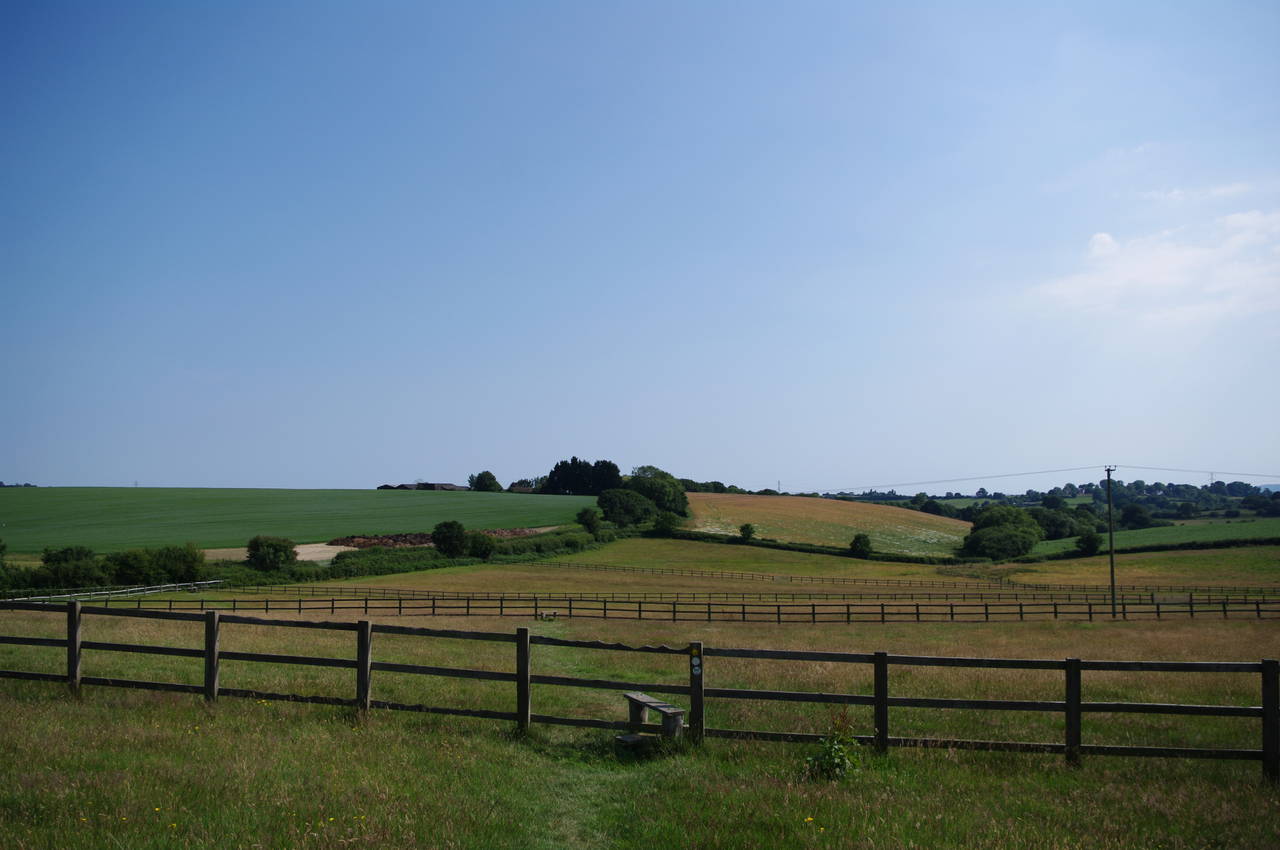
(21) Path descends towards Boreham Lane

(22) Wartling Wood
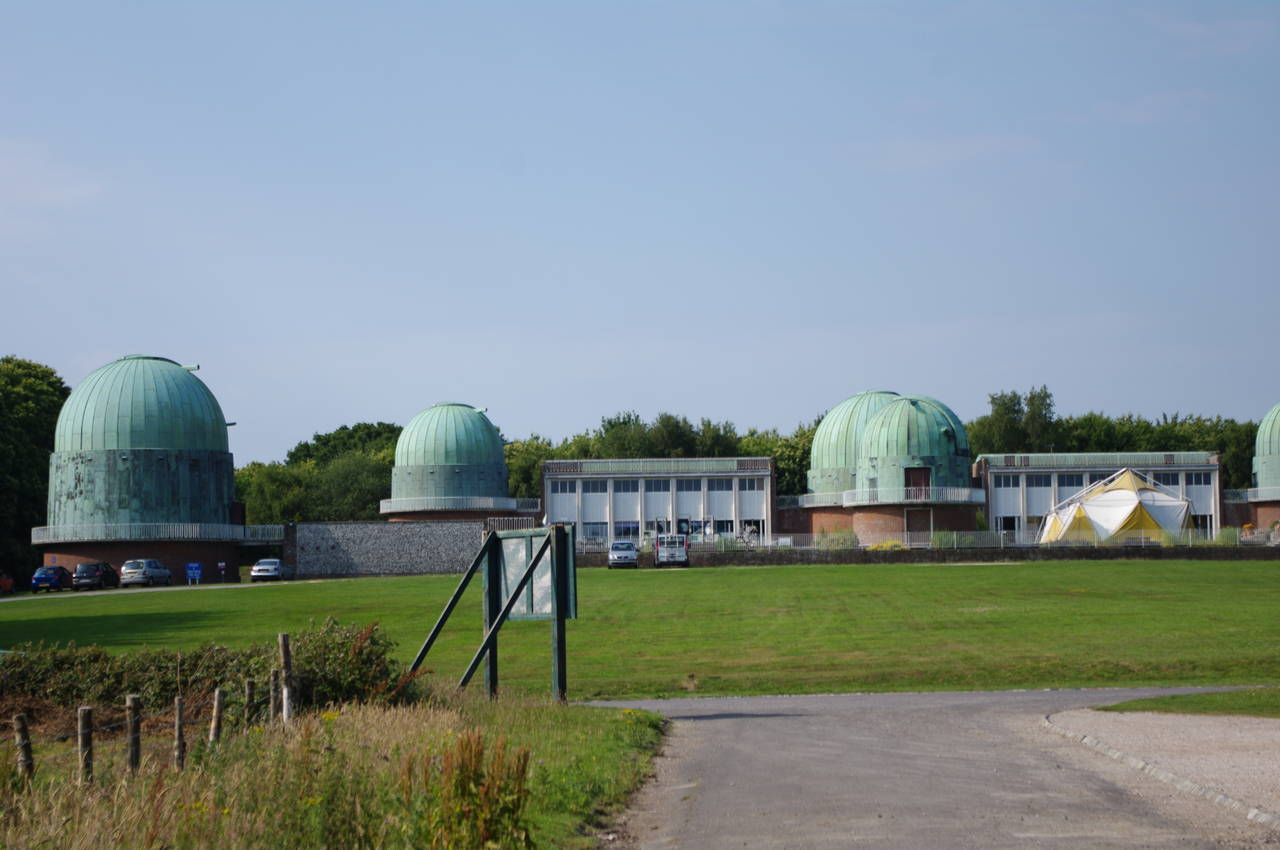
(23) Science Centre

(24) Herstmonceux Castle
About six hundred metres after joining the main road, the route climbs some steps on the left to cross a stile and head along a narrow path between a fence and a hedge. This is another easy turn to miss (and miss it I did), as the fingerpost on the opposite side of the road was missing all its fingers and all but the top six inches was hidden in bushes. I realised my error on reaching the next intersection about 200m further on.
Emerging into a field of barley, the route heads around the left edge of the field, where a gap in the boundary allows the path to continue ahead along the right edge of the adjoining field. Reaching a stile, the route bears left to climb over a grassy ridge before descending diagonally across a large field divided up onto a series of paddocks by wooden fences (picture 21).
Reaching the left edge of the field with two paddocks to go, the path follows the edge of the first paddock, just above Boreham Lane, and then heads diagonally right over the final paddock to reach a stile and steps down to Jenners Lane. A few metres to the right, the path goes through a gate on the opposite side of the lane, but once again the signpost for this turn was well hidden in the hedge beside the gate and I continued along the lane before concluding that there weren't any other ways into the field.
This really did seem to be a day for making wrong turns, and I can't remember having so much trouble with way-finding before. I was stubbornly determined to persist however, and returned to the gate where I found that the signpost was perfectly visible from the other side of the hedge!
The route heads along the right field edge, parallel with the lane, then turns left along the next edge of the field, initially running alongside a tall hedge and then by the edge of Wartling Wood. Reaching the far corner of the field, the path cuts through the corner of Wartling Wood (picture 22), then along the left edge of another field to meet Wartling Road, which is followed to the right for about 250 metres.
Just beyond a low concrete pillar on the left verge bearing the number 23, the path turns left along a signposted path beside a carpark and then along the edge of woods. The path soon passes by the Science Centre, not far to the right (picture 23), where there are at least six domes housing various telescopes.
Another few minutes along the path, the route crosses an open field where there were good views off to Herstmonceux Castle a few hundred metres away to the right (picture 24). From the number of cars parked in front of the castle, I'm guessing that it must be quite popular on Sunday afternoons.
(25) Church Farm

(26) Church

(27) Descending to the Pevensey Levels

(28) Path by the River Yotham
On the far side of the field a wooden gate leads through a small patch of forest to emerge on a road by the Herstmonceux Castle International Study Centre. The route continues ahead past the building and through a wooden gate towards a church. Just before the church the route turns left towards Church Farm (picture 25), though once again the route was a little confusing because the fingerpost by the corner of the churchyard was broken and the gate of the farm was locked, perhaps a deliberate attempt to discourage walkers from exercising their right to use this public right-of-way.
Before proceeding, I went a short distance along another footpath beside the church to get a decent picture without the trees being in the way (picture 26).
Returning to the gate of Church Farm, I climbed over it and followed the path to another gate between the barns, from which a vehicle track begins to descend the hillside towards the flat expanse of the Pevensey Levels, giving good views ahead towards the coast and towards the chalk hills of the South Downs where I would be walking the following day (picture 27).
After about three hundred metres, the track levels out and a fingerpost points off to the right, following a less distinct vehicle track that twists and turns across fields for about a kilometre to reach a narrow waterway called Hurst Haven. The route follows the waterway south beside cattle-grazed fields for about three kilometres to reach the hamlet of Rickney. At some point along this stretch of the path, Hurst Haven becomes the River Yotham (picture 28).

(29) Path by Pevensey Haven

(30) View towards Pevensey Castle

(31) Crossing the A27 near Pevensey

(32) Pevensey Castle
Meeting a road called Rickney Lane, the route turns right to cross over a bridge then takes the first left towards Bridge Farm. After about thirty metres the path reaches a fingerpost where one of the branches of the 1066 South Downs Link heads right, while the main 1066 Country Walk heads left along a footpath beside the farm buildings.
At the end of the footpath, a gate leads out into a long narrow field, where the path heads by a tall electricity pylon before rejoining the bank of the river, which had changed names again, this section called Pevensey Haven (picture 29). After about two kilometres, the river is crossed by a rather substantial looking wooden footbridge, but the 1066 Country Walk ignores this and continues along the same bank. A few metres later another waterway joins the river from the far side and the name changes one final time from Pevensey Haven to the rather less attractive Martin's Ditch.
In the distance to the right of the path, I could see the high stone walls of Pevensey Castle (picture 30) and with the destination now in sight I felt a little more energetic. About eight hundred metres beyond the footbridge, the riverbank is blocked by bushes and the path is forced to turn right towards a metal gate and then along a narrow twisting path to reach a crossing of the very busy A27 road (picture 31). Despite it being around 7:30pm on a Sunday night, I had to wait the better part of ten minutes to get a chance to cross the road safely.
Beyond the crossing, another enclosed path leads up to houses on the B2191 High Street at Pevensey, which runs alongside the outer curtain wall of Pevensey Castle. The final part of the 1066 Country Walk runs around the castle walls to the left to reach the main gate and the official end of the walk (picture 32).
From the front of the castle, the nearest railway station is Pevensey Bay, about 500m away to the south-east, but my research the previous evening had revealed that this station has very few services on a Sunday, so I instead headed back to the west along the High Street for about a kilometre to the Pevensey and Westham Station, which has hourly services.
The official route from Battle had been around 24km, but with the extra distance to and from railway stations and several wrong turns during the day I had walked just over 32km in total by the time I caught the train at the end of the day.
I suspect that I would have found it easier to stick to the route if I had followed the majority and done the walk in the opposite direction, as several places had much more visible signposting for those heading the other way and a couple of the broken signposts wouldn't have been so important for finding the correct route in the other direction. That said, I hadn't had any trouble following the route on the first day, so perhaps my sense of direction was just taking a day off. It was bound to happen eventually.