KENNET AND AVON CANAL PATH
Stage 4: Pewsey to Hungerford
Saturday, August 27, 2016

(1) The Waterfront, Pewsey Wharf

(2) Darth Wader

(3) View towards the Pewsey Downs

(4) Approaching Carrel Crown Bridge
The morning started out bright and sunny but had turned overcast by the time I stepped off the train at Pewsey Station. After wandering around the town centre I returned to Pewsey Wharf and set off from the Waterfront pub (picture 1). The towpath heads past moorings on the right-hand bank of the canal, where I soon passed one of the more cleverly named narrowboats I had seen so far (picture 2). Unlike the previous day, where the towpath frequently changed sides of the canal, this day's walk was to be entirely on the south side of the canal.
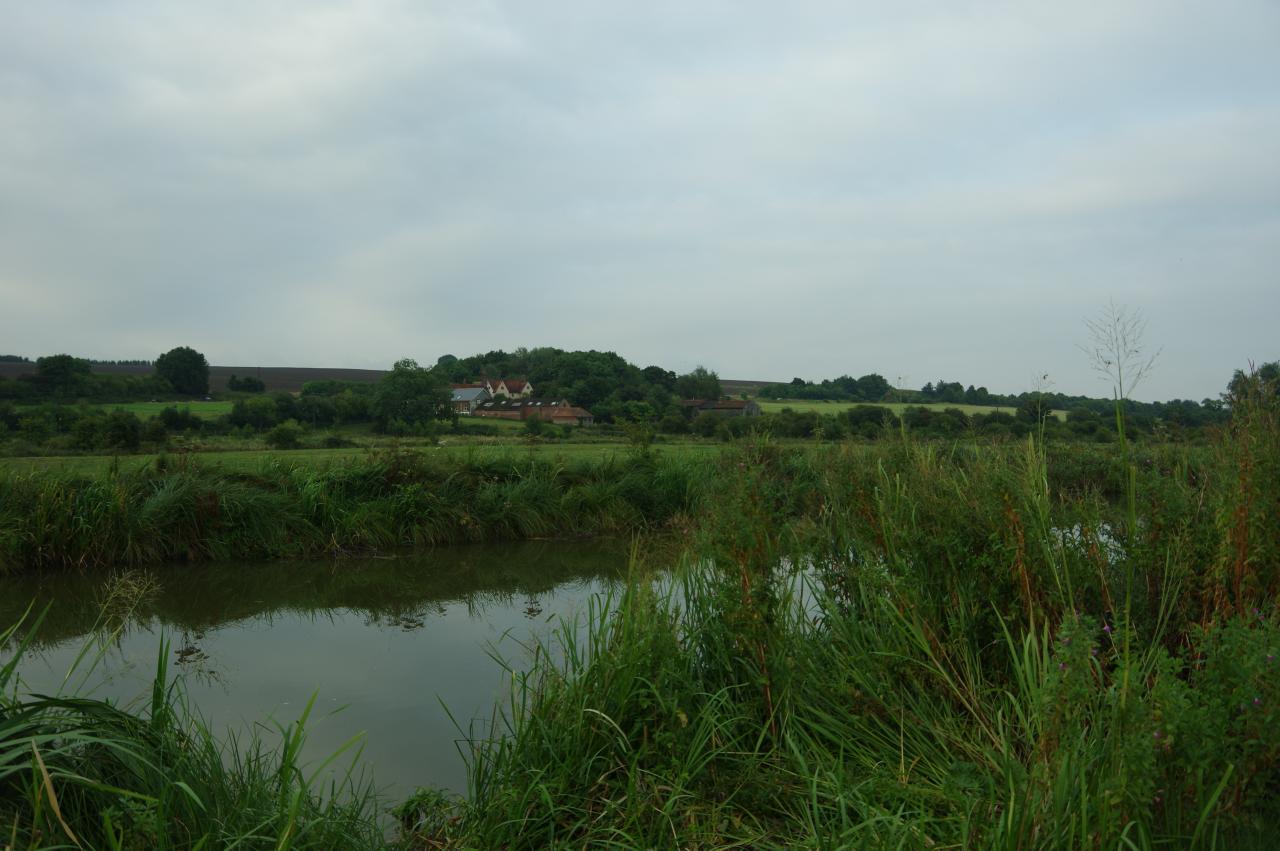
The first stretch of the walk follows the canal through peaceful farmland, which rises towards the foot of the Pewsey Downs on the left (picture 3). A little downhill to the right are the upper reaches of the River Avon — not the Avon that flows west through Bath and Bristol, but rather the one that flows south through Salisbury to reach the sea at Christchurch in Dorset.
The canal passes under four identical brick bridges, spaced at roughly one kilometre intervals. Approaching the fourth bridge, I was passed by the first moving narrowboat of the day (picture 4), reminding me how quiet the first hour of the walk had been.

(5) GWR Intercity 125

(6) Wootton Rivers Moorings
(7) Wootton Rivers Lock
(8) The Royal Oak, Wootton Rivers
Beyond the bridge, the tracks of the Great Western Railway's London to Penzance line come up beside the canal with trains zooming by every few minutes (picture 5). The railway would remain within earshot for the rest of the day's walk.
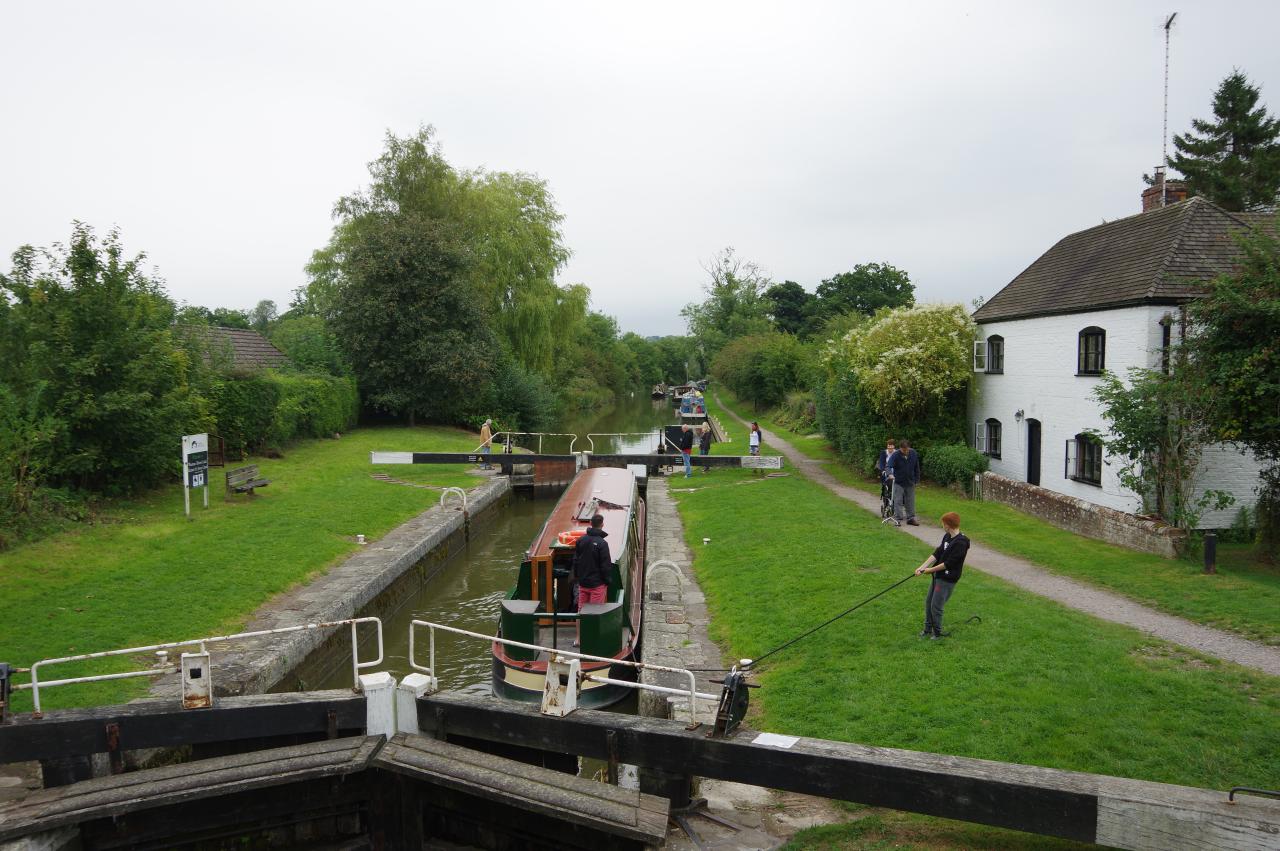
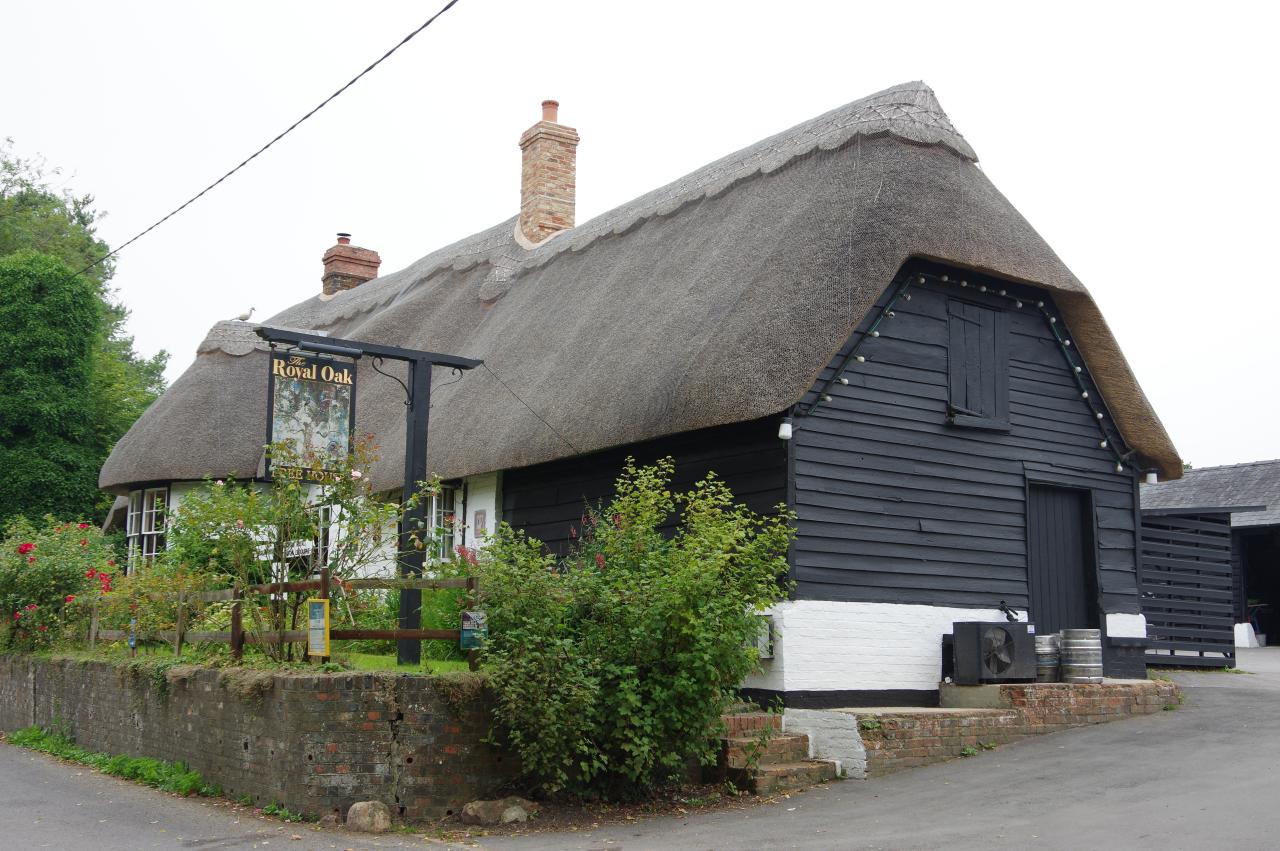
Just around a left-hand bend in the canal, between the next two bridges, are the Wootton Rivers Moorings (picture 6). Next to the second bridge is Wootton Rivers Lock (picture 7) and across the bridge is the village of Wootton Rivers. Before continuing along the towpath, I went for a stroll along the village street, which has several attractive thatched buildings, including the Royal Oak pub (picture 8), though I was there well before opening time, so I didn't get to look inside.
(9) Heathy Close Lock

(10) Brimslade Lock

(11) Cadley Lock

(12) Summit Pound
Three more locks follow over the next kilometre; Heathy Close Lock (picture 9), Brimslade Lock (picture 10) and Cadley Lock (picture 11), each accompanied by a bridge at its downstream end. Cadley Lock is the 54th lock since leaving the Floating Harbour in Bristol and raises the canal to its four kilometre long summit pound (picture 12), at 140 metres above sea level.

(13) View back to Burbage Wharf

(14) Western portal of the Bruce Tunnel

(15) Plaque by the eastern portal of the Bruce Tunnel

(16) Crofton Top Lock
About a kilometre further along the canal, the towpath passes opposite the lonely Burbage Wharf (picture 13). the wharf has the last surviving wooden crane on the canal, though it has been rebuilt a couple of times since the original was installed in 1831. Burbage Wharf was originally used to ship out timber from the nearby Savernake Forest and locally made bricks, and to bring in coal and lime for the surrounding farms.
After another kilometre the towpath ends at the western portal of the 458 metre Bruce Tunnel (picture 14) and the Canal Path climbs steps on the right, going under the railway line and then following an enclosed path to a minor road. Across the road and along a driveway is another enclosed path that eventually leads to a flight of concrete steps down to the exit from the tunnel.
When the canal was used to transport cargo, the barges were pulled along the tunnel on chains attached to the tunnel walls and the horses had to be lead over the hill on a similar route to today's two-legged walkers.
By the exit is a large plaque (picture 15), which reads:
The Kennet and Avon Canal Company
Inscribe this tunnel with the Name
BRUCE
In testimony of their GRATITUDE
For the uniform and effectual support of
The Right Honourable THOMAS BRUCE EARL of AYLESBURY
and CHARLES LORD BRUCE his Son
Through the whole Progress of this great National Work
By which a direct communication by Water was opened
Between the cities of LONDON and BRISTOL
ANNO DOMINI 1810
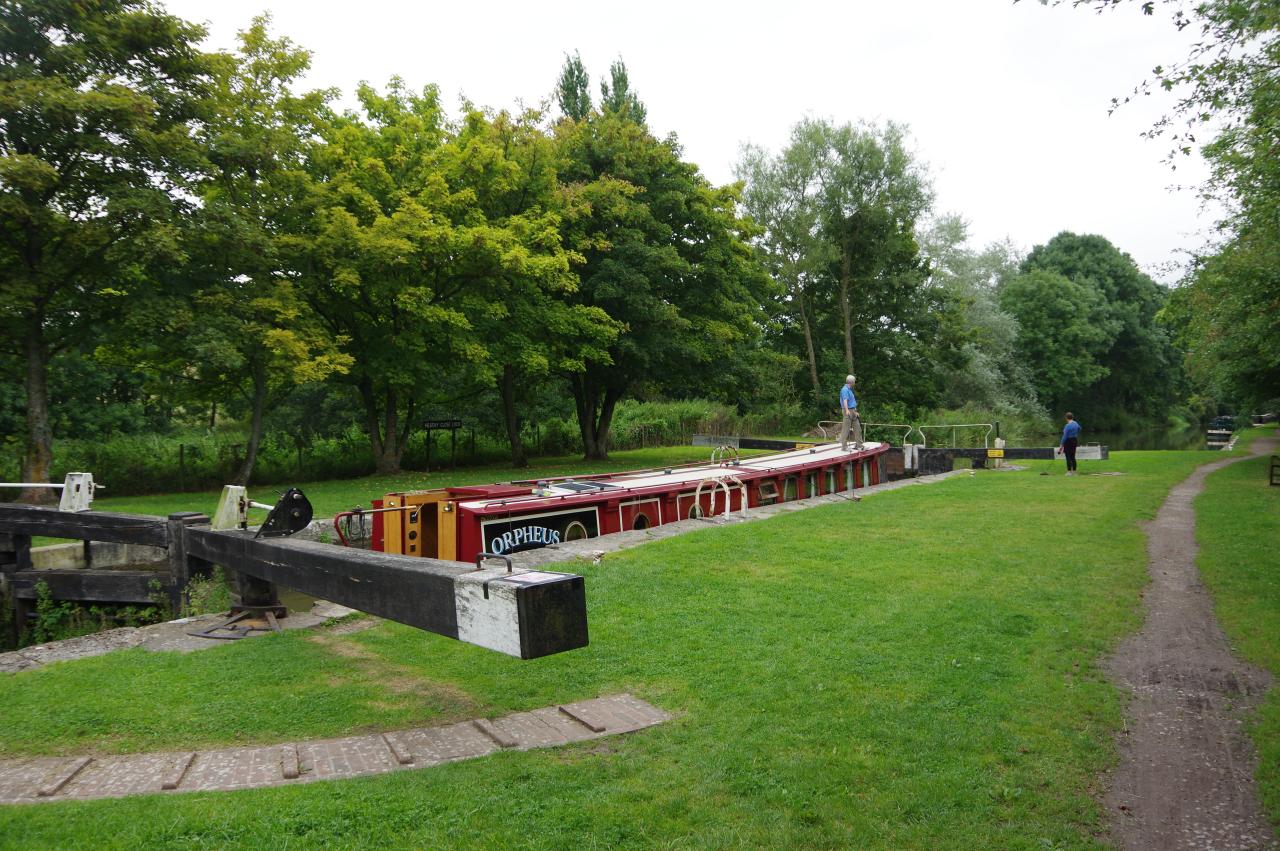
A kilometre along the towpath, the canal passes under Wolhall Bridge before a gentle left-hand bend leads past the abutments of a dismantled railway bridge, which carried a line between Swindon and Andover from 1882 until 1970. A little further on is Crofton Top Lock (picture 16), the first of the Crofton Locks, a group of nine locks spaced over the next three kilometres. This is also the first of 53 locks that take the Kennet and Avon Canal downhill from the summit pound to the junction with the River Thames, almost 60 kilometres away.

(17) Storm approaching Adopters' Lock

(18) Crofton Pumping Station
(19) Crofton Beam Engines

(20) Galloway Steam Boiler
At Lock 57, Adopters' Lock, a weather-beaten plaque explains that it is so named because it is "dedicated to the many people who have supported the Kennet and Avon Canal by adopting a piece of the waterway for themselves, friends, family, or in memory of a loved one". While I was reading the plaque, a loud thunderclap alerted me to some ominous clouds creeping up behind me (picture 17) and I set off again, walking a little faster than before. It wasn't long before it started to rain and I had to stop to pull on my waterproofs.
On the hillside above Lock 60 stands the imposing Crofton Pumping Station (picture 18), which is reached by crossing the lock gates and following a path under the railway line. I had planned to stop for lunch at the adjoining Engineman's Rest Cafe, and this was also now a welcome shelter from the weather as the rain was getting heavier and the thunder more frequent.
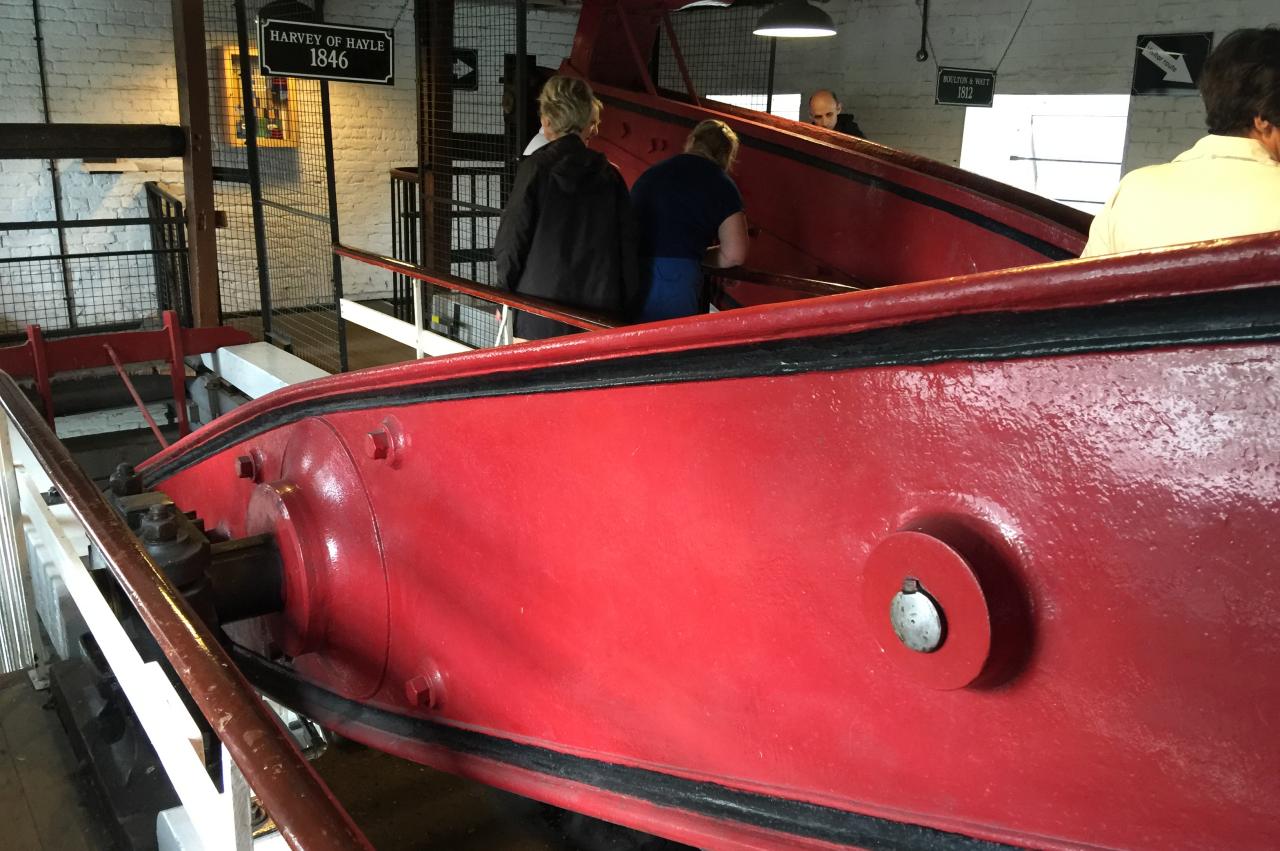
The Crofton Pumping Station was built in 1807 to pump water up to the summit pound, which had no reliable natural water supply. The two steam-driven beam engines (picture 19) have been replaced by electric pumps for day-to-day operation, but are still run on a few weekends each year. The nearer engine in the picture was built at Hayle in Cornwall in 1846 and the other was built in Birmingham in 1812, making it the world's oldest working beam engine still doing its original job. Each engine is capable of pumping a little over 10,000 litres of water per minute.
While I was wandering around the pumping station, the volunteers downstairs began to fire up the boiler (picture 20), so I got to see the engines in action while I waited for the worst part of the storm to pass over. They're rather impressive machines, even before you realise that one of them is more than 200 years old.

(21) Bridge 99

(22) Great Bedwyn

(23) Sheltering under Bridge 95

(24) The Great Escape
Rejoining the Canal Path after a break of about 90 minutes, it was about ten minutes walk past the next two locks to reach the rather derelict looking Bridge 99 (picture 21), which was abandoned when the railway was built across the end of it in the 1840s.
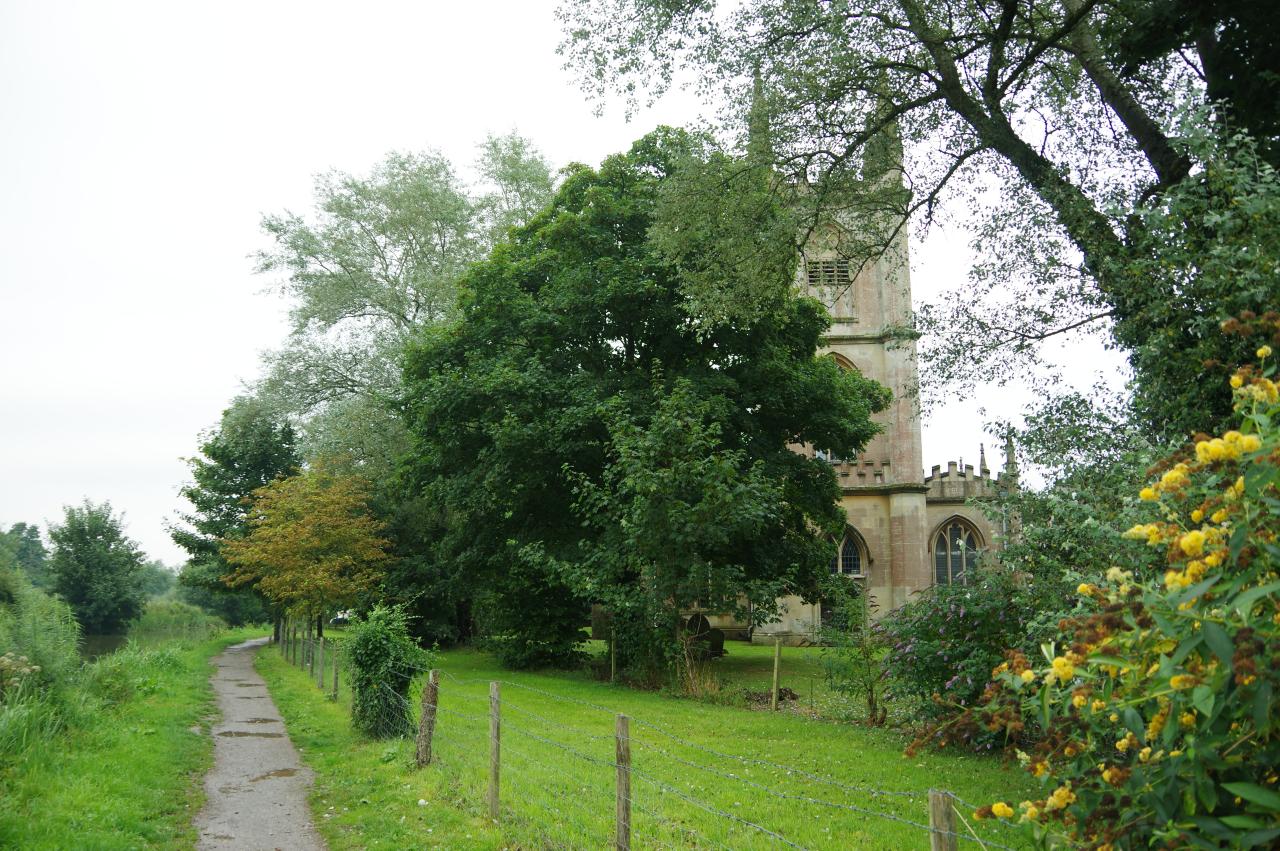
Beyond Beech Grove Lock (the last of the Crofton Locks) and a couple more bridges, the canal reaches the village of Great Bedwyn, most of which stands on the far side of the canal and railway line. Just after passing Bedwyn Church Lock, the 12th-century tower of St Mary's Church can be seen over the trees (picture 22).
While I was admiring the view, there were a couple of loud peals of thunder and it started to rain again. By the time I made it to Bridge 95, which joins an outlying arm of Great Bedwyn to the rest of the village, the rain was coming down heavily and I decided to wait it out under the bridge (picture 23).
As the minutes dragged by I began to contemplate ending the walk early and dashing across the bridge to Great Bedwyn Station. A quick check of the timetable showed it was almost an hour until the next train, so I stayed put for a while. After about 40 minutes the rain eased off and I set off again along the towpath, which now had many puddles. The very first boat I passed was called Great Escape (picture 24), which happens to be my favourite movie. This ensured that I had the movie's theme tune stuck in my head for the rest of the walk.

(25) Potter's Lock

(26) Little Bedwyn

(27) Approaching Froxfield Bottom Lock

(28) Cobbler's Lock
Leaving Great Bedwyn behind, the canal heads out into fields, passing Burnt Mill Lock and Potter's Lock (picture 25) before reaching the small village of Little Bedwyn, where the canal passes under a substantial brick road bridge, along the side of Little Bedwyn Lock and under a footbridge that crosses over the canal and railway (picture 26).
For the next two kilometres the canal is paralleled on the left by the railway and on the right by a minor road. Towards the end of this stretch is a group of three locks; Oakhill Down Lock, Froxfield Middle Lock and Froxfield Bottom Lock (picture 27). (The village of Froxfield is about a kilometre away across the canal.)
At Froxfield Canal Bridge, the canal crosses the county boundary from Wiltshire into Berkshire. Both sides of the canal are now densely lined with bushes on the way up to Picketfield Lock, under the railway and onward to Cobbler's Lock and its keeper's cottage (picture 28).
(29) Hungerford Freeman's Marsh
(30) Parish Church of St Lawrence, Hungerford

(31) Hungerford Wharf
(32) Hungerford Bridge
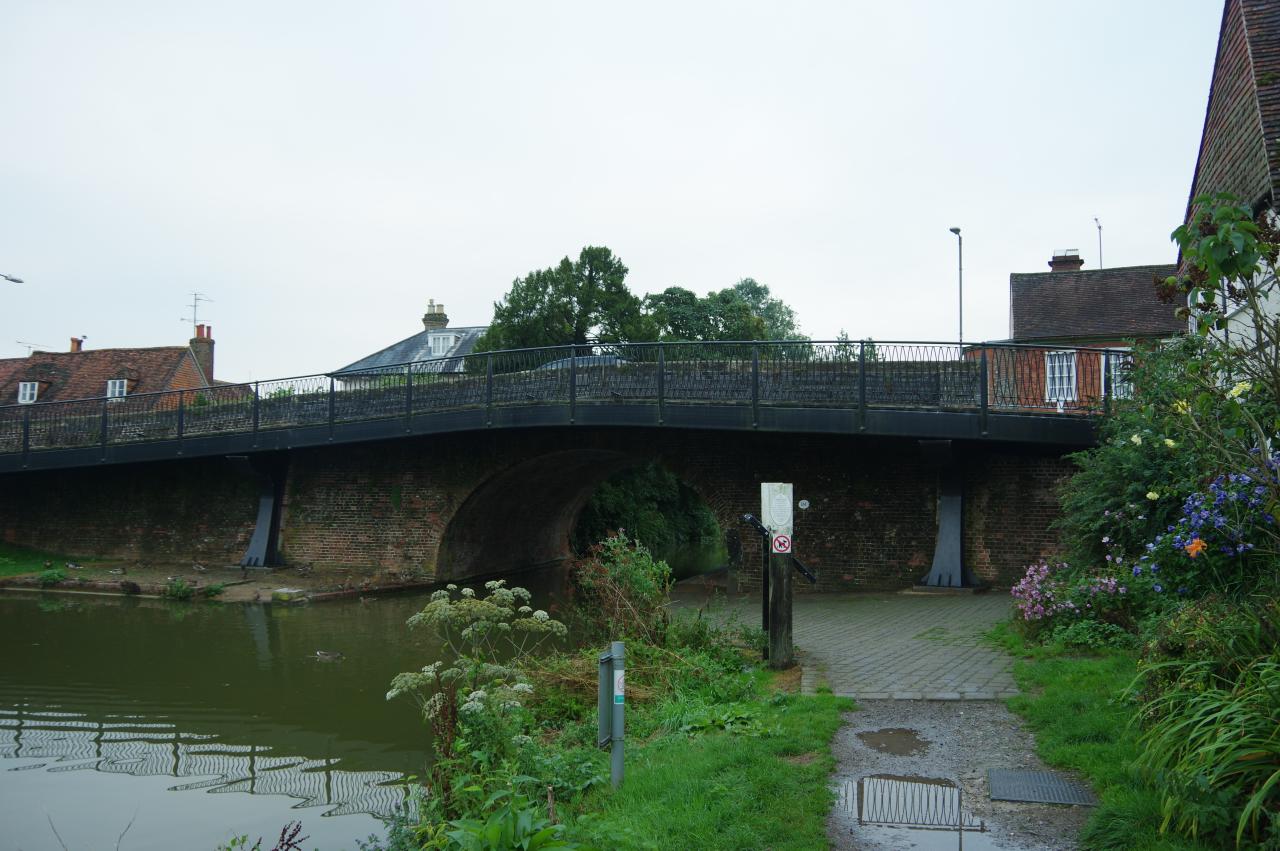
From Cobbler's Lock, the canal runs through the middle of Freeman's Marsh (picture 29) — a 28 hectare reserve of common grazing land that also attracts a variety of wildlife. The towpath follows the edge of a field past Hungerford Marsh Lock and onward to the edge of the town of Hungerford. The Parish Church of St Lawrence stands just to the right of the towpath (picture 30) before the canal takes one final right-hand bend to pass alongside Hungerford Lock and opposite Hungerford Wharf (picture 31) to reach Hungerford Bridge (picture 32).
I left the Canal Path here, with another 22.5 kilometres covered. Hungerford's railway station is only a few minutes walk from the bridge, though I had enough time before the next train to walk all the way up the broad High Street. There are some interesting buildings there, though it was difficult to take good photos in the light rain and gathering gloom.