SOUTH DOWNS WAY
Stage 2: Eastbourne to Southease
Thursday, July 7, 2011
The coastal route of the South Downs Way starts on the edge of Eastbourne, about forty minutes walk west of the pier (picture 1). For most of the way I followed the beach-side promenade, soon passing a strange sculpture next to the path called "Taking a Stone for a Walk" (picture 2), placed here in December 2000.
As I walked, the chalk cliffs of Beachy Head grew ever larger ahead (picture 3). It was quite a cold walk however, as there was a very stiff breeze blowing in from the English Channel. For much of the way, the promenade was backed by colourful gardens, occasionally broken by various beach huts and shelters.
Where the promenade divides in two, I took the right fork, which climbs uphill and soon joins a road which I followed up to the official start of the walk next to an ice-cream kiosk on Foyle Way (picture 4).
From the kiosk, the well-worn path climbs steeply up the grassy hill and before long I was fighting against the strong wind once again. Looking back, there were good views over Eastbourne as the path rose higher (picture 5). Soon the path reaches a waymark post, bearing slightly left to run along the side of the ridge, above the grassy combe of Whitebread Hole. After rounding the end of an elevated headland, the path dips a little to head through stunted bushes above Cow Gap (picture 6).
Climbing around the next point towards a lookout where the wind was particularly biting, there was one final view back across the combes to Eastbourne (picture 7), though the view was quite hazy due to the high winds.
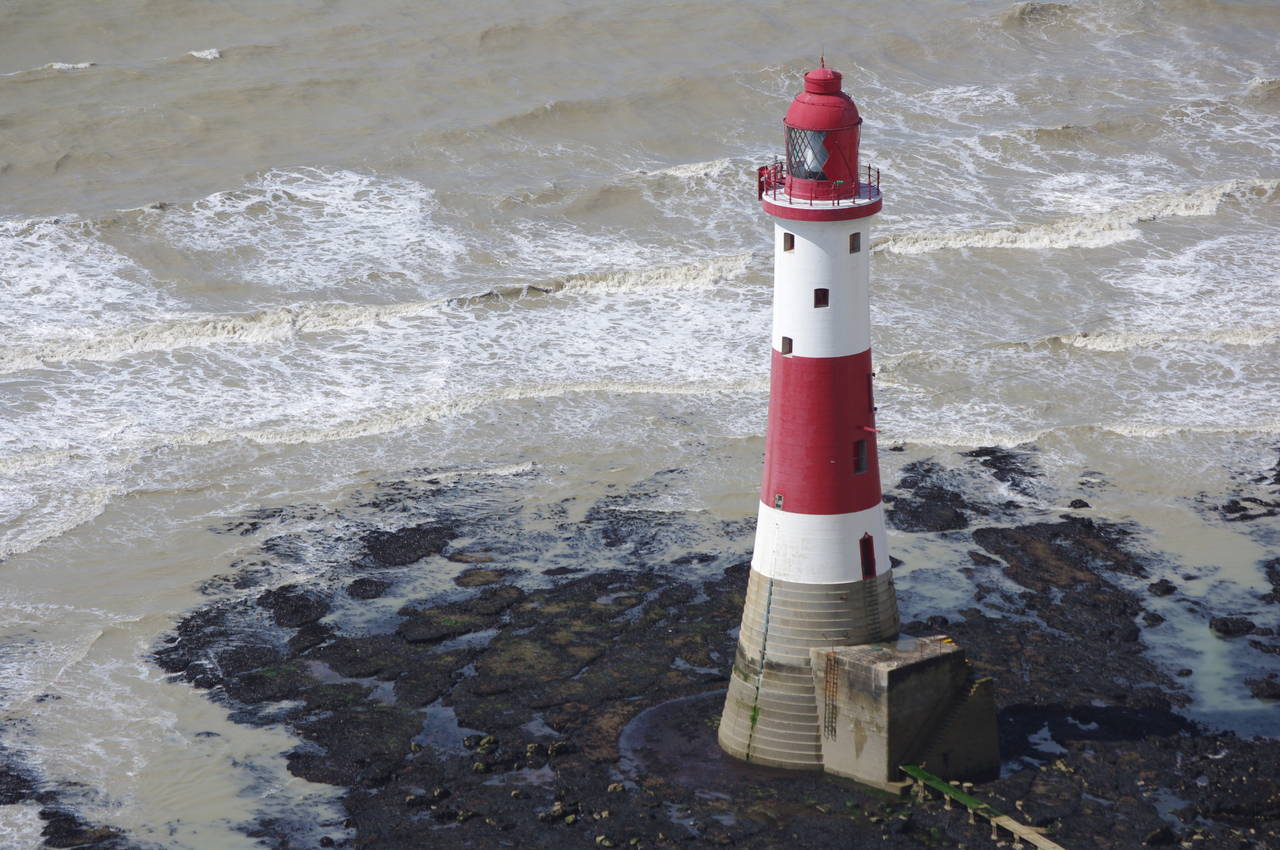
A little further around the point, the famous candy-striped Beachy Head Lighthouse came into view at the foot of the cliffs, still almost a kilometre away (picture 8). Several other hikers were perched on the edge of the cliffs when I stopped to change to my new 55-200mm camera lens to take the picture. The winds here were so strong that it was hard to hold the camera still enough to get a clear photo.
The picture taken with the zoom lens doesn't really give a good idea of the scale of the scenery at Beachy Head. The lighthouse, built in 1902, stands 43 metres tall, but is dwarfed by the cliffs, which reach a height of 162 metres (picture 9) -- the tallest chalk cliff on the British coastline, and sadly also one of Britain's most popular suicide spots.
The lighthouse stands on a flat platform fashioned by the waves at the foot of the cliffs and was constructed by lowering massive stone blocks down from the cliffs. At high tide, the platform is under water, making the lighthouse's location look even more impressive. The location was chosen to reduce the chances of low cloud and mist obscuring the light, which until recently, when the power of the light was reduced, could be seen 42 kilometres out to sea.
The South Downs Way follows the edge of the cliffs westwards, soon passing by a low octagonal brick structure, filled with seats, which used to be the base of a lookout station. At several points along this part of the path there are good views ahead along the line of ragged chalk peaks that form the coastline west of Beachy Head.
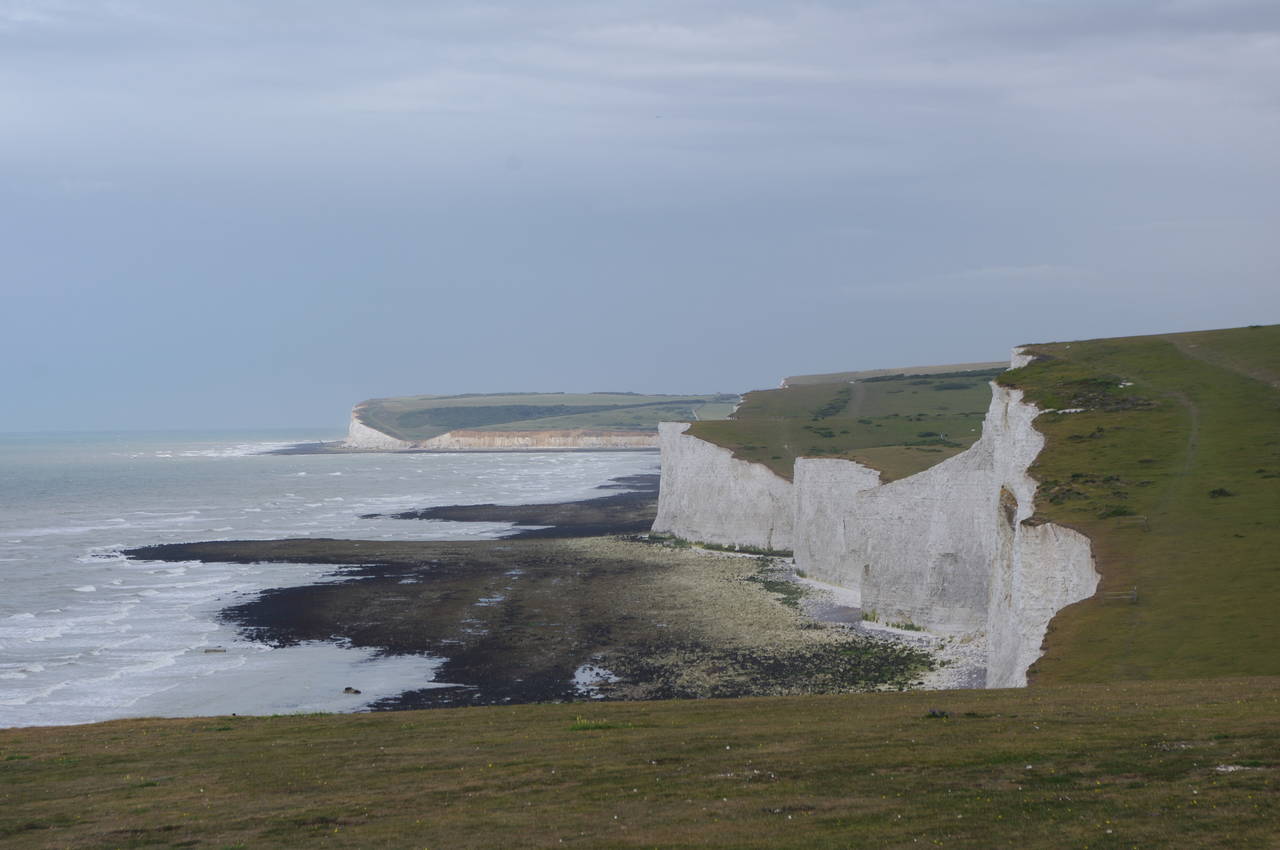
About a kilometre beyond the lighthouse, the path descends steeply into the valley of Shooters Bottom before climbing just as steeply up the other side, from which there are more good views showing the scale of the cliffs (picture 10).
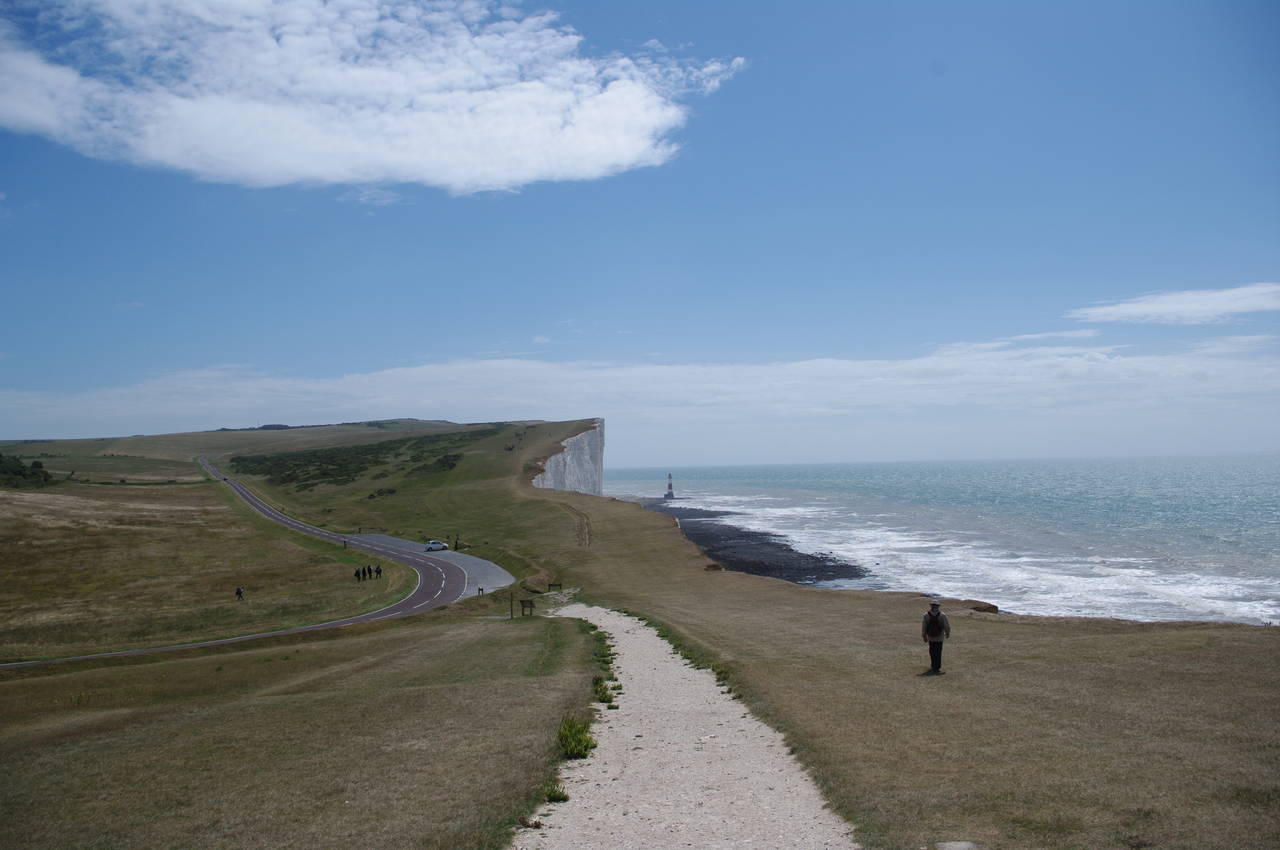
Ahead, the next peak is topped by the Belle Tout Lighthouse (picture 11), built in 1834 and taken out of service when the Beachy Head Lighthouse was built. Now a private home, Belle Tout was moved around 15 metres back from the cliff edge in 1999 to prevent it from following the gradually eroding chalk cliff into the sea. From the path up to Belle Tout, there were yet more good views back towards Beachy Head (picture 12).
As I approached Belle Tout, a large group of teenage school children was walking the other way, but these were far from the only people about; I had passed many walkers and hikers along the path so far.
Reaching Belle Tout (picture 13), the path skirts around the back fence before the path along the cliff edge begins to descend, with views ahead across Birling Gap and along the Seven Sisters (picture 14).
When the cliff-top path starts to fall more steeply towards Birling Gap, the South Downs Way turns inland and heads down to meet the Beachy Head Road, following the verge to the left to pass by the Birling Gap Hotel. Just past the entrance of the car park, the route leaves the road and climbs up a broad gravel path to a wooden five-bar gate, where the path goes briefly through trees before another gate opens onto a path that heads up to a kissing gate on the edge of the National Trust's Crowlink property.
In an open field once again, the path soon returns to the cliff edge, reaching the first peak of the Seven Sisters, Went Hill, where there are more views ahead along the white cliffs to Seaford Head (picture 15).
As soon as the path reaches the top of the hill it descends again, crossing the valley to climb steeply up Baily's Hill. Half way up this next climb, the path passes a monument that commemorates the donation of this land to the National Trust in 1926 by W. A. Robertson in memory of his two brothers who lost their lives on the battlefield of the Somme in World War I (picture 16).
The path then crosses the valley of Flathill Bottom, where there was an unusual stile over a wire fence (picture 17), before the roller-coaster ride continued over Flat Hill (not what I'd have called it) and Flagstaff Bottom to the rounded peak of Flagstaff Brow.
Here stands another monument (picture 18), this time featuring a sarsen stone and commemorating the gift of this part of Crowlink to the National Trust by William Campbell, also in 1926. From this vantage point, I could see all the way back along the cliffs to Belle Tout (picture 19).
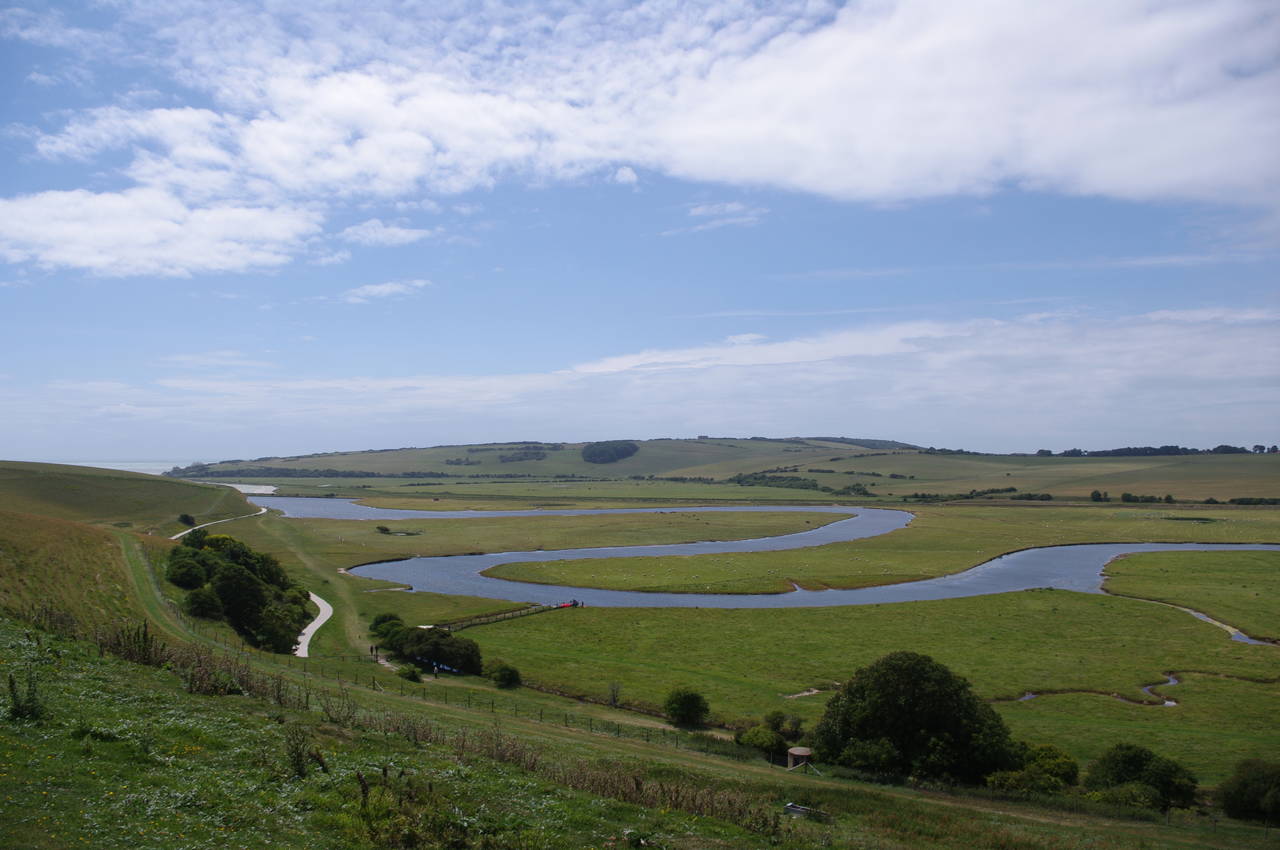
Pressing on, I continued to follow the cliff-top path over the peaks of Rough Brow and Short Brow to reach the last of the Seven Sisters at Haven Brow, which overlooks the marshy Cuckmere Haven, where the River Cuckmere flows into the English Channel (picture 20). There were dozens of people out enjoying the scenery on this last stretch of the Seven Sisters, despite the persistent high winds making it feel unusually cold for a mid-summers day.
A short distance over the peak of Haven Brow, a fingerpost points to the right and the Way leaves the coast behind, heading inland along the Cuckmere Valley (picture 21). The path descends, joining a chalky footpath on the floor of the valley, crossing a small waterway in an area called Foxhole (picture 22).
Just across the waterway, the route leaves the footpath through a gate and climbs diagonally across a large sloping field, the correct route actually bearing significantly to the right of the direction indicated by a fingerpost. As the path climbs higher, the camping barn at Foxhole Bottom can be seen off to the right (picture 23).
Reaching a wire fence the route bears left and follows the fence-line up to a wooden gate where the path begins to descend again towards the hamlet of Exceat. Along this section of the path there were good views over the snaking course of the River Cuckmere (picture 24), which are shortcut by a 19th-century canal on the far side of the valley.
The Way eventually joins a footpath (picture 25) and follows it for a short distance to cross over the A259 East Dean Road to the visitor centre of the Seven Sisters Country Park. The route follows a signed path beside a cycle-hire business, through a wooden gate and starts to climb across a grassy field from which there were good views back towards Cuckmere Haven (picture 26).
At the top of the field, the path enters a band of forest and soon starts to descend a long flight of about two hundred steps (picture 27) which lead down to the edge of the village of Westdean. The route continues straight ahead through the small settlement, passing an attractive small cottage (picture 28) as the road heads up into the edge of Friston Forest.
Through a wooden five-bar gate on the edge of the forest, the path continues on a broad track for a short distance before a waymarker on a post indicates a right angle turn to the left to follow another wide track through the forest (picture 29). The track soon becomes a bit more open and curves back to the right, heading north. When the broad track ends, the Way follows a narrow path through the woods down steep steps and then along the edge of the woods beside a field.
After about a hundred metres, the path turns right over a stile and climbs along the left edge of the field beside a hedge. When the path levels out, there are good views across the Cuckmere Valley towards High and Over, where the figure of a horse can be seen carved into the hillside (picture 30, and zoomed in in picture 31).
In the corner of the field the path goes through a wooden kissing gate and begins to descend towards the stone cottages of the village of Littlington. Looking ahead over the village, I could see rain approaching from the northwest and by the time I reached the next kissing gate I was forced to dig out my waterproofs just in time to avoid being soaked by a heavy shower.
Descending across one final field, the path emerges onto Clapham Lane in Littlington, following the quiet street to the left for a short distance to turn right onto the main street, heading up to the cozy Plough and Harrow pub (picture 32).
Immediately after the pub, the South Downs Way turns left along a footpath between hedges and fences, running down to the floodbank of the River Cuckmere. The path follows the floodbank along the right bank of the reed-lined river (picture 33), the rain continuing to fall steadily. After some distance the spire of Alfriston Church came into view ahead and in a couple of places I saw groups of swans on the river (picture 34).
The path continues to follow the winding river up to the white footbridge over the Cuckmere (picture 35), where the coastal route of the South Downs Way meets the inland bridleway route which I had walked the previous evening.
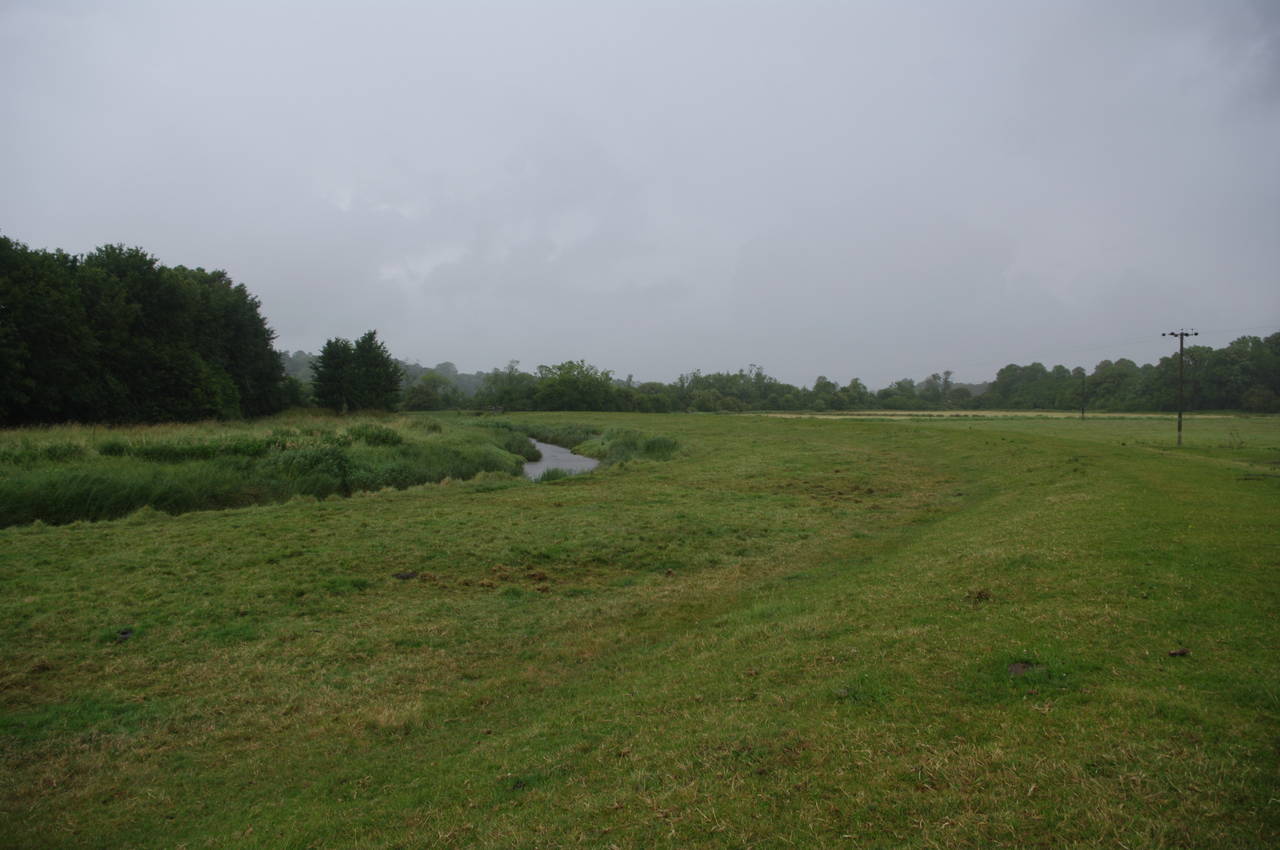
As I approached the bridge the rain finally began to lighten up and by the time I was turning right into River Lane on the other side of the river the sun had broken through. After about fifty metres, River Lane does a right-angle turn to the left and runs up to Waterloo Square in the middle of Alfriston (picture 36).
Having completed exactly 20km of walking since setting off from Eastbourne Pier, I stopped in the village for a rest and some lunch. After wandering up and down the High Street (picture 37), I rejoined the South Downs Way, which heads south from Waterloo Square for a short distance before turning right beside the Star Inn pub. Heading along Star Lane and then continuing ahead into King's Ride, the route leaves Alfriston and the road becomes a rough vehicle track which begins to climb up onto the downs (picture 38).
About 500 metres out of Alfriston the track turns right and continues to climb gently for another 500 metres. When the main track turns left, the Way continues ahead on a narrow track through bushes, soon crossing another track and passing through a wooden gate and into an open field, now around 100 metres above sea level. From here there were extensive views over the Weald to the north and over the Cuckmere Valley and Windover Hill to the east (picture 39).
The Way now climbs gently but continuously in a north-westerly direction over treeless fields for well over two kilometres towards the top of Bostal Hill (picture 40). This part of the walk, along the northern edge of the downs, felt quite isolated with no other walkers to be seen; quite a contrast to the coastal part of the walk.
Finally reaching the top of Bostal Hill, at a height of 191 metres, the path descends along a vehicle track with the peak of Firle Beacon up ahead (picture 41). After passing by a car park at the bottom of the shallow valley, the path begins to climb again, reaching Firle Beacon after just over a kilometre.
On top of Firle Beacon, now at a height of 217 metres, stands an ancient burial mound and a trig point (picture 42). Looking south across the downs, I could see as far as the harbour arm at Newhaven (picture 43) and in this direction the skies were darkening once again.
From Firle Beacon, the path heads due west, following the northern edge of the downs for almost three kilometres towards the twin radio masts of Beddingham Hill (picture 44). Along this path there were plenty of views northwest towards the East Sussex county town of Lewes.
A kilometre short of the masts, the path passed through a gate bearing a sign warning that using a metal detector on this land is a criminal offence and then crosses a small car park, where I had to stop and put on my waterproofs again as it began to rain for the second time in the day.
Up on this lonely part of the downs there is absolutely no shelter, so I had no choice but to press on against the wind and driving rain, passing by the tall radio masts on top of Beddingham Hill. I was glad that my weather-proof camera lived up to the maker's advertising.
Once over the top of the hill, the path drops slightly and crosses over the end of a road that comes up the slope from the north. Here the rain eased off as quickly as it began and by the time I had crossed the next field I was able to look back to Beddingham Hill in watery sunlight (picture 46).
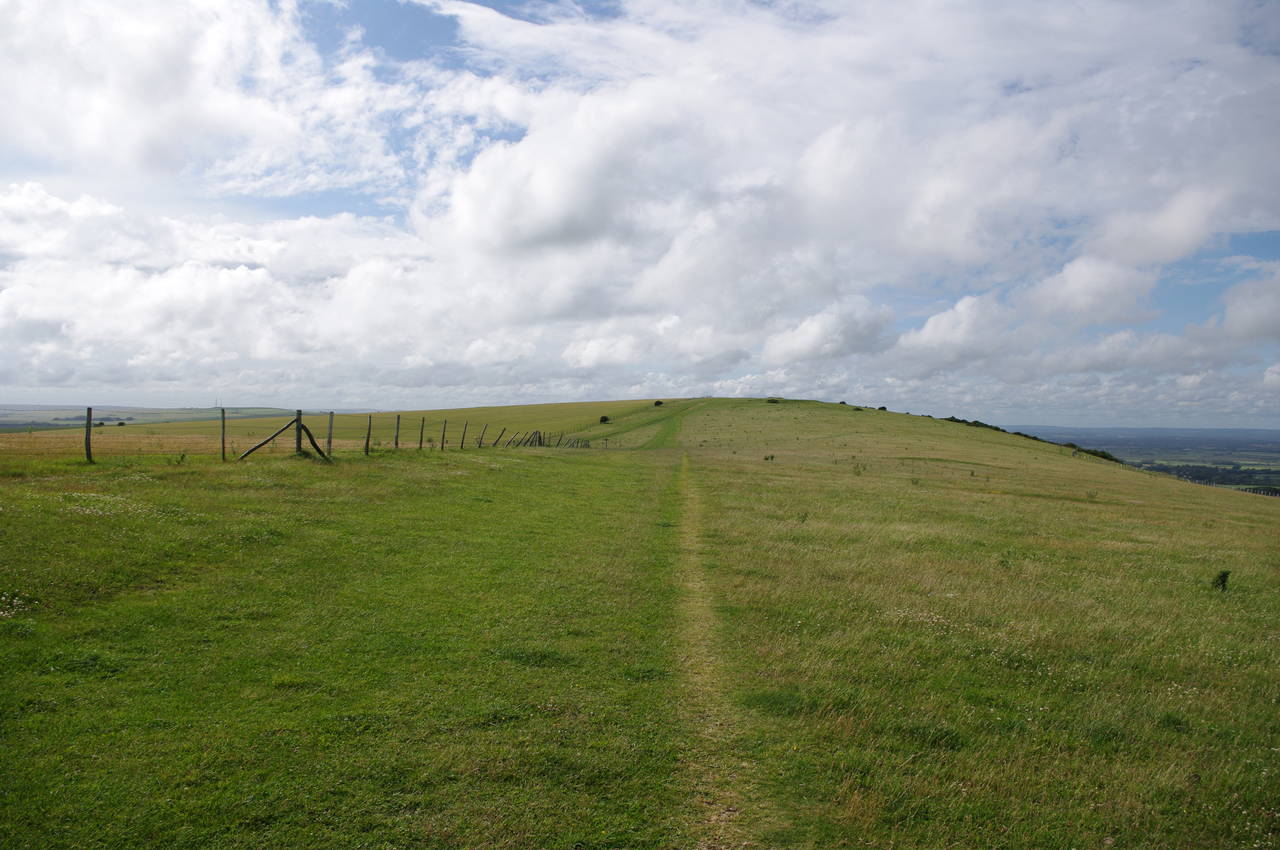
The path now heads out along the long flat ridge of Itford Hill (picture 47) from which there were misty views north over the long ribbon of the River Ouse (picture 48).
After about a kilometre, the path passes by a dried out dew pond where there is also another concrete trig point. Another 500 metres along the path, Itford Hill begins to drop steeply away into the Ouse Valley, giving more good views ahead across the Ouse Valley where the round tower of the Southease Church could be seen in the middle of the large patch of trees on the opposite slope (picture 49).
Rather than continuing straight ahead, the Way now turns left, descending gently southwards across the face of the hill for 500 metres before turning almost 180 degrees to the right and continuing to descend along a more distinct path with one last view north towards Lewes (picture 50).
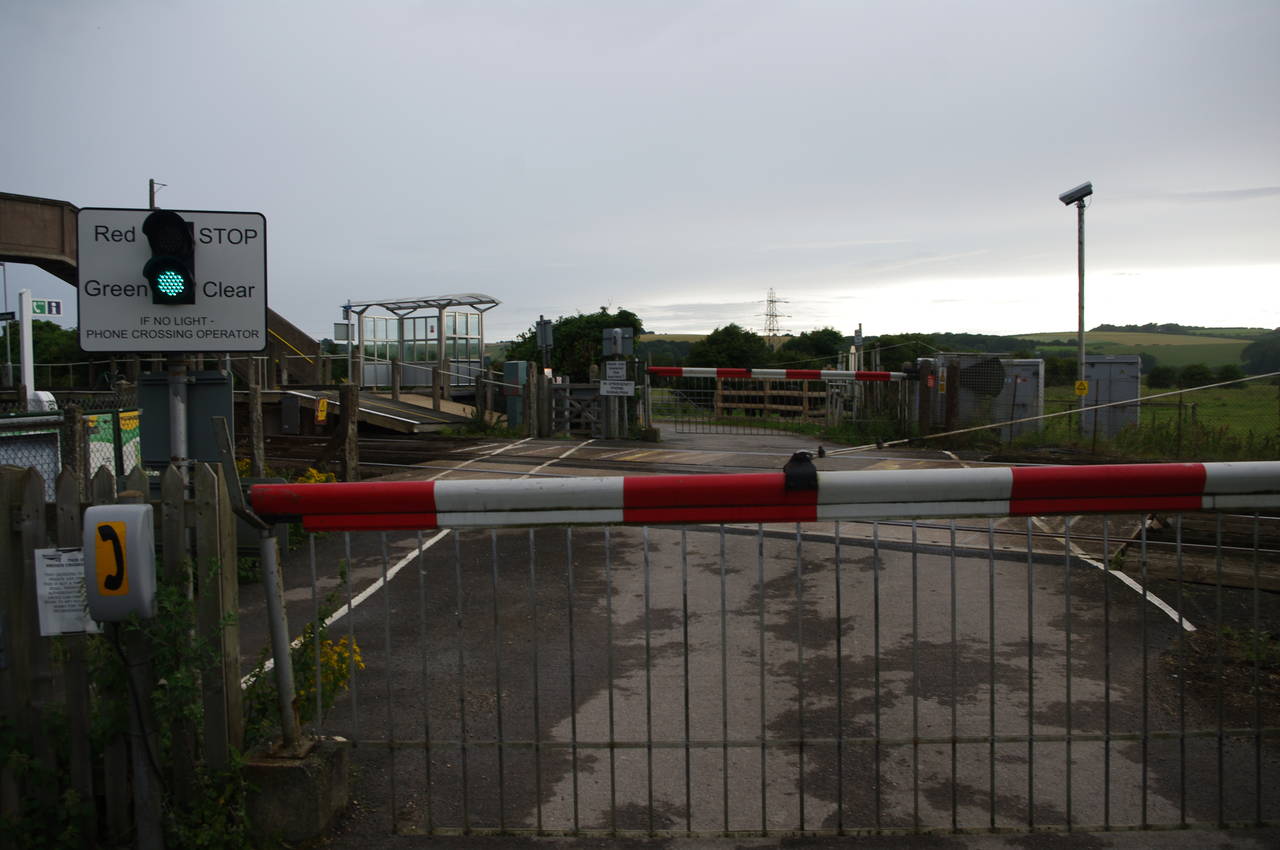
Reaching the valley floor, the path curves left again, to follow a track up to the A26 Itford Footbridge (picture 51), which was opened in 2006 to provide a safe crossing over the busy A26 road. Beyond the bridge, the obvious path heads around the buildings of Itford Farm and then turns left to follow the farm drive up to a level crossing over the railway line at the end of Southease Station (picture 52), where I finished the day's walk.
Services from Southease Station are not particularly frequent and it was almost an hour before I boarded a train to go one stop up the line to Lewes, where I changed onto a train back to Eastbourne.
According to my GPS, I had walked just over 32km for the day, with 28.2km of that being on the South Downs Way. Despite the high winds and a couple of heavy rain showers, it had been a good day's walk with plenty of spectacular scenery and a great variety of landscapes.


